
Budget-Friendly can be easier to approach when you start with a few practical basics.
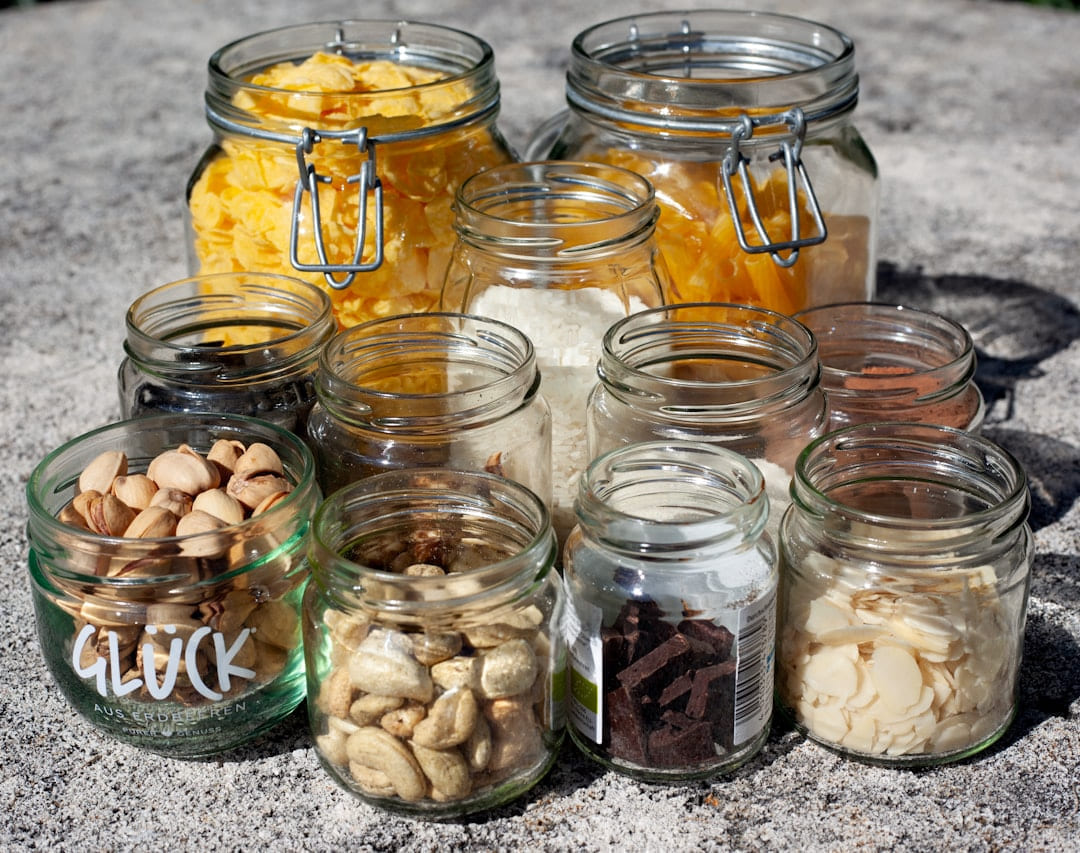
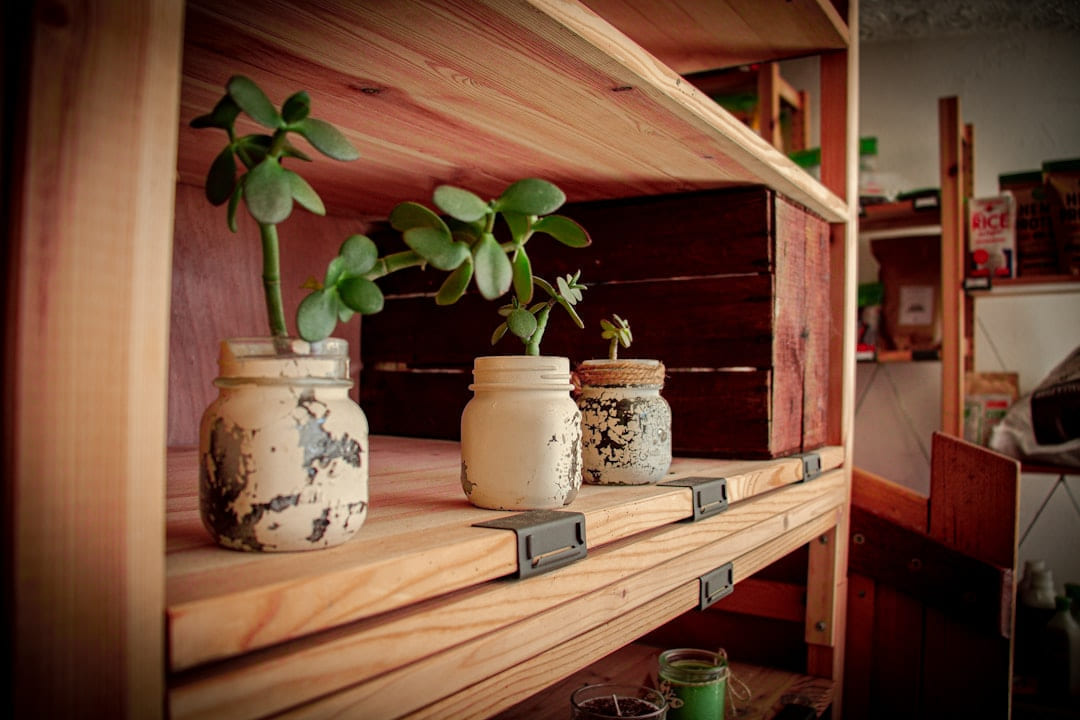
* Beeswax Pellets: You can buy these online or at some craft stores. - $7 - $15 * Pine Resin: Adds extra stickiness and durability. - $3 - $5 * Jojoba Oil: Helps the wax adhere to the fabric. - $5 - $10 (a little goes a long way) Let’s Make Some: 1. Cut Your Fabric: Cut squares or rectangles of cotton fabric approximately 10x12 inches. 2. Prepare the Wax Mixture: In a heat-safe bowl, combine beeswax pellets, pine resin, and jojoba oil. A good starting ratio is 4 parts beeswax to 1 part resin to 1 part oil. Heat gently in a double boiler or microwave in 30-second intervals until completely melted. *Be careful - melted wax is HOT!* 3. Pour and Spread: Pour the melted wax mixture onto the center of your fabric square. Use a rolling pin to spread it evenly, ensuring the entire surface is coated. 4. Let it Cool: Allow the wraps to cool completely. As they cool, the wax will harden and create a slightly sticky surface. 5. Shape and Seal: Fold the edges of the fabric over to create a sealed edge. You can use a damp cloth to smooth out any wrinkles. Variations: Get creative! Use patterned fabric for a colorful look. You can also add dried herbs or flowers for extra decoration.Upcycled Glass Jar Storage - Give Old Jars a New Life
- Spice Rack: Label jars with fabric tags and twine.
- Bathroom Organizers: Store cotton balls, Q-tips, and makeup brushes.
- Craft Supply Storage: Keep yarn, beads, and buttons neatly organized.
Cloth Napkins - A Step-Up from Paper
Let’s be honest, paper napkins add up in cost and contribute to landfill waste. Sewing your own cloth napkins is surprisingly simple, even if you're a beginner. Skill Level: Easy - Requires basic sewing skills (straight stitch). Materials (Estimated Cost: $10 - $20 for a set of 4-6 napkins):
- Fabric: Old t-shirts, flannel, or remnant fabric are all great choices. - $5 - $15
- Thread: Any color you like. - $2 - $5 Instructions: 1. Cut the Fabric: Cut out squares of fabric approximately 20x20 inches. 2. Fold and Sew: Fold the square in half diagonally to create a triangle. Sew along the long edge, leaving a small opening for turning. 3. Turn Right-Side Out: Turn the napkin right-side out through the opening. 4. Close the Opening: Hand-stitch the opening closed.
Produce Bags - A Small Change, Big Impact
- Mesh Fabric: (Old netting or cheesecloth work well) - $3 - $7
- Old T-Shirts: Cut and sew - Free! Instructions (Mesh Bag): Cut out two squares of mesh fabric approximately 12x14 inches. Sew along three sides, leaving one side open. Turn right-side out. Instructions (T-Shirt Bag): Cut off the sleeves and neckline of an old t-shirt. Sew the bottom closed.
Budget-Friendly Sourcing & Long-Term Savings
Okay, let’s talk about where to find the materials for these projects without emptying your wallet. Thrift stores and online marketplaces like Facebook Marketplace and Craigslist are your best friends. You can often find fabric scraps, old pillowcases, and even glass jars for next to nothing. Don’t be afraid to ask for donations from friends and family - they might have fabric they’re willing to part with. DIY beeswax wraps are another option - you can buy the ingredients in bulk and make a larger batch for a lower cost per wrap. It’s surprisingly cost-effective in the long run. Cost Comparison: Let’s say you typically spend $5 per month on paper napkins. Switching to cloth napkins saves you approximately $60 per year. That's a small investment with a big impact. Similarly, ditching plastic wrap for beeswax wraps could save you $30 - $50 annually. Durability: With proper care, these DIY items can last for a surprisingly long time. Beeswax wraps can be washed and reused for months. Upcycled jars are incredibly durable, and cloth napkins can withstand hundreds of washes.
Start with what you will actually use
With DIY Green: Budget-Friendly Home Swaps, the first question is usually not which option looks best on paper. It is which part will make day-to-day life easier, smoother, or cheaper once the novelty wears off.
A lot of options sound great until you picture them in a normal week. If the setup is fussy, the routine is easy to forget, or the maintenance is annoying, the appeal fades quickly.
There is also value in keeping one part of the process deliberately simple. Readers often do better when they identify the one decision that carries the most weight and make that choice carefully before they chase smaller optimizations. That keeps momentum steady and usually prevents the topic from turning into clutter.
What tends to get overlooked
Tradeoffs are normal here. Cost, convenience, upkeep, and flexibility do not always line up neatly, so it helps to decide which tradeoff matters least to you before you commit.
This usually gets easier once you make a short list of priorities. A tighter list tends to produce better decisions than trying to solve every possible problem at once.
Another useful filter is asking what you would still recommend if the budget got tighter, the schedule got busier, or the setup had to be easier for someone else to manage. The answers to that question usually reveal which advice is durable and which advice only works under ideal conditions.
Wrapping Up: Small Steps, Lasting Change
Creating your own reusable household items isn’t just about saving money; it’s about embracing a more mindful approach to consumption. It’s about recognizing that small changes can collectively make a huge difference. Don’t feel like you need to tackle everything at once. Start with one project - maybe it's making a few beeswax wraps or transforming a few old jars. Ready to get started? Share your creations on social media using #EarthWiseBudgetDIY - we'd love to see what you're up to!
Keep This Practical
If the advice here feels useful, turn it into one habit you can maintain without extra stress. Sustainable progress tends to come from repeatable decisions, not all-at-once overhauls.
Tools Worth A Look
These recommendations fit readers who want lower-waste, budget-aware tools that support everyday sustainability without overcomplicating it.
- A More Sustainable Keto: For Busy People on a Budget with Simple Nutrition Facts to Bring Diet Life Balance and Lasting ResultsS.T.E.P.S Towards Organic Living: Non-Toxic Living on a BudgetLiving Green on a Budget: A BEGINNER'S GUIDEEco-Minimalism On A BudgetFlourish on a Dime: Miss Lynsay’s Guide to Living Smart and Saving Money
Some of the links on this page are Amazon affiliate links, which means I may earn a small commission if you make a purchase through them. As an Amazon Associate, I earn from qualifying purchases.
Related ReadingMore from Earth Wise Budget
DIY Eco-Fail: Avoid These Mistakes
Mistake #3: Skipping the Prep Work - It’s More Than Just “Getting Started”
DIY Green: Simple Eco-Friendly Projects
Eco-Friendly DIY Projects for a Budget-Wise Life Let’s face it: living sustainably doesn’t have to mean sacrificing your wallet. In fact, embracing eco-friendly.
Simple Eco-DIY for Beginners
Simple Eco-DIY for Beginners: Low-waste choices are usually easier to keep when they save money, reduce friction, or fit into routines you already have.