| Item 1 | Item 2 | Item 3 | Item 4 |
|---|---|---|---|
| Oat Milk (32oz) | $18 - $26 | $3 - $6 | $0.75 - $1.50 |
| Sweetener (per batch) | Included in price | Included | Negligible |
| Total (Approx.) | $18 - $26 | $3 - $6 | $0.75 - $1.50 |
75 - $1.50
The Rise of Oat Milk: A Budget-Friendly Sustainability Choice
Let’s face it - the world of plant-based milk has exploded in recent years. From almond to soy, cashew to hemp, there’s a seemingly endless variety vying for a spot in our fridges. But one particular milk has truly taken center stage: oat milk. Not only is it incredibly versatile - perfect for coffee, cereal, smoothies, and even baking - but it’s also becoming increasingly recognized as a sustainable and surprisingly affordable alternative to dairy. As someone deeply committed to Earth Wise Budget principles, I’ve been experimenting with making my own oat milk for over a year now, and I’m here to share everything I’ve learned, including a head-to-head comparison with commercially produced versions. The initial cost of a good blender might seem like a hurdle, but trust me, the long-term savings and environmental benefits make it a worthwhile investment.
The Simple Recipe: Oat Milk in Minutes
Okay, let’s get to the good part. This recipe is ridiculously easy and requires minimal effort. It’s a fantastic way to reduce your reliance on packaged goods and shrink your carbon footprint, all while enjoying a delicious, creamy beverage. What you’ll need:
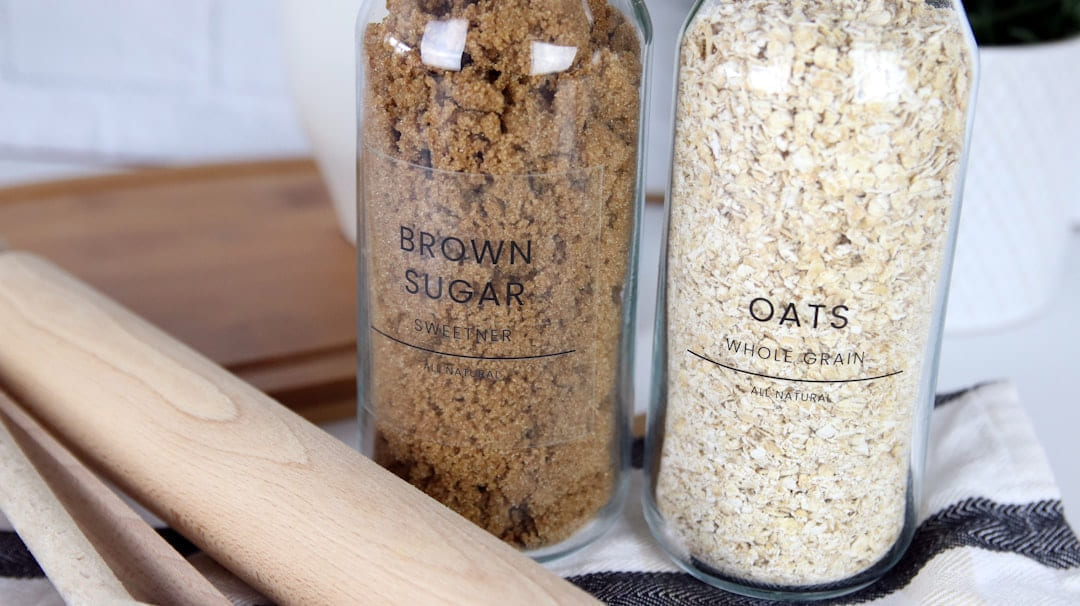
- 4 cups rolled oats (old-fashioned oats work best - avoid steel-cut for this recipe, as they create a thicker, almost porridge-like consistency)
- 4 cups water (filtered water is always recommended for the best flavor)
- 1-2 tablespoons sweetener (maple syrup, agave nectar, or even a touch of brown rice syrup are all excellent choices. Adjust to your taste - start with 1 tablespoon and add more as needed.)
- Pinch of salt (optional, but it really helps to enhance the oat flavor and balance the sweetness)
Instructions:
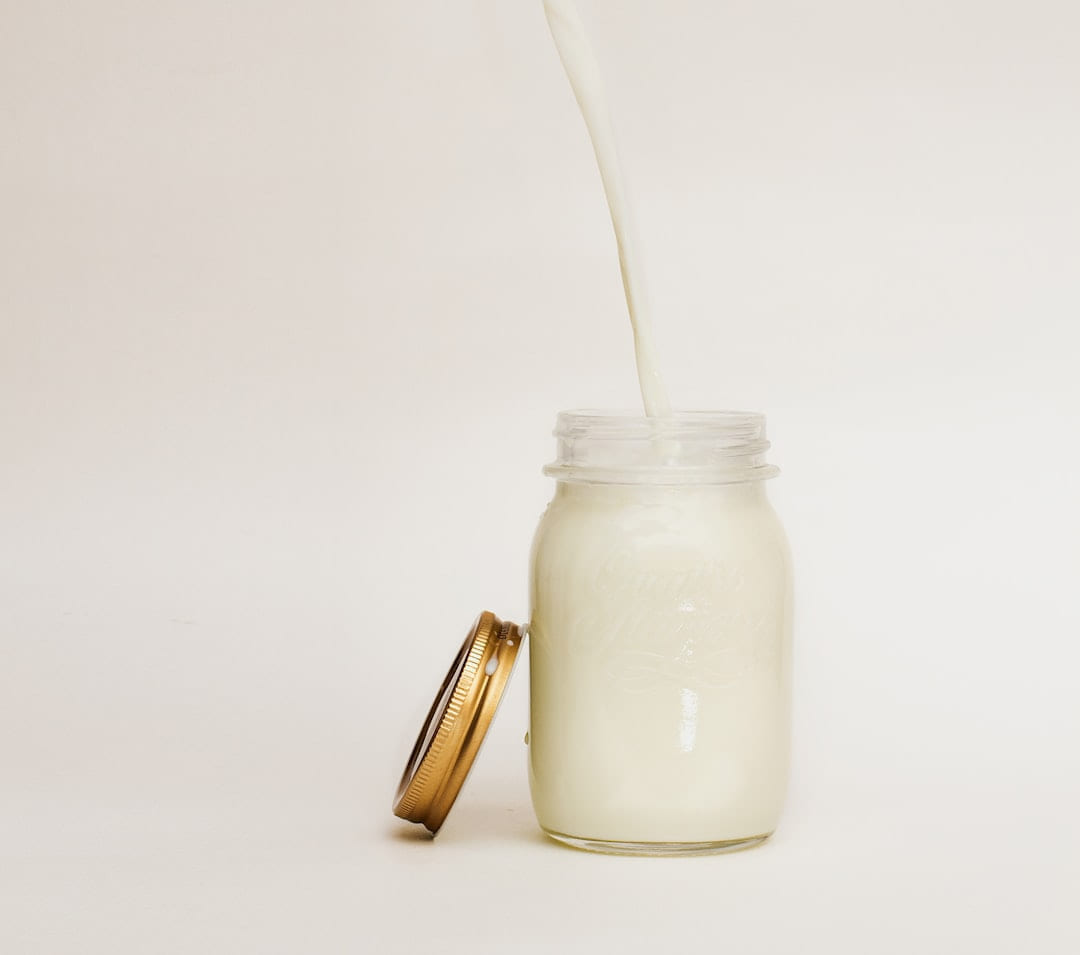
1. Combine the oats, water, sweetener, and salt (if using) in a blender. 2. Blend on high speed for 30-60 seconds. Don’t over-blend! You want a slightly cloudy milk, not a completely smooth liquid. Over-blending releases too much starch, leading to a slimy texture. 3. Let the mixture sit for 5-10 minutes to allow the oats to settle and release their starches. This step is crucial for achieving the right consistency. 4. Pour the mixture through a nut milk bag, cheesecloth, or even a clean thin tea towel into a pitcher or jar. Squeeze gently to extract as much milk as possible - really get in there! 5. Store in the refrigerator for up to 5 days. You can experiment with this recipe, too. Adding a little vanilla extract (1/2 - 1 teaspoon) can be delicious, or you can use different types of oats - while steel-cut oats will give you a thicker milk, rolled oats are ideal for a smoother, more traditional oat milk.
Equipment & Making it Easy: Minimal Investment, Maximum Impact
You don’t need fancy equipment for this. A decent blender is the most important thing - something that can handle a little bit of blending without bogging down. I’ve found that a standard kitchen blender works perfectly fine, but a high-speed blender will yield an even smoother result. As for containers, clean jars or pitchers are ideal for storing your homemade oat milk. You can find budget-friendly glass jars at most discount stores - look for sets of mason jars for a classic, sustainable aesthetic. If you’re looking for eco-conscious options, brands like World Centric offer reusable jars and containers that are surprisingly affordable and come in various sizes. (Affiliate links for these types of products would go here, if applicable - but let’s hold off on those for now.) Consider investing in a good quality nut milk bag; they're durable and will last for years.
The Weigh-In: DIY Pros & Cons - A Realistic Look
Let’s be honest, making your own oat milk isn’t always sunshine and daisies. There’s a little bit of time involved, and you’ll need to clean up after yourself. But the benefits definitely outweigh the drawbacks, in my opinion.
DIY Pros:
- Waste Reduction: You’re eliminating the plastic packaging that comes with store-bought milk - a huge win for the environment. Think about the cumulative impact of reducing plastic waste over time.
- Ingredient Control: You know exactly what’s going into your drink - no hidden additives, gums, or unnecessary ingredients that can sometimes be found in commercial oat milk.
- Cost Savings: Over time, making your own oat milk will almost certainly save you money. While the initial investment in a blender might seem significant, the ongoing savings quickly add up.
- Freshness: Homemade oat milk is noticeably fresher than store-bought, with a brighter, more vibrant flavor.
DIY Cons:
- Time Commitment: It takes about 15-20 minutes to make a batch, including prep and cleanup.
- Cleaning Up: You’ll need to wash the blender and your straining equipment.
- Spoilage: Homemade oat milk won't last as long as store-bought, so you’ll need to use it within 5 days.
Keeping It Fresh: Storage & Troubleshooting - Mastering the Art of Oat Milk
Proper storage is key to keeping your homemade oat milk delicious and extending its shelf life. Store it in an airtight container (a glass jar is ideal) in the refrigerator. It should last for 3-5 days. Now, sometimes you’ll get a batch that’s a little… slimy. This usually happens if you over-blend the oats, breaking down the starches too much. Or, if you don’t use enough liquid, the milk can become thick and clumpy. If this happens, simply add a little more water (1/2 cup at a time) and blend again. Another common issue is a slightly grainy texture - this can be resolved by straining the milk through a finer cheesecloth or nut milk bag. Don't be afraid to experiment - it’s part of the process! Also, if your oat milk smells sour before the 5-day mark, it’s time to discard it.
Beyond the Basics: Flavor Variations and Creative Uses
Once you’ve mastered the basic recipe, the possibilities are endless! Here are a few ideas to get you started:
- Chocolate Oat Milk: Add 1-2 tablespoons of cocoa powder and adjust the sweetener to taste.
- Vanilla Oat Milk: Add 1/2 - 1 teaspoon of pure vanilla extract.
- Maple Cinnamon Oat Milk: Add 1/2 teaspoon of maple syrup and 1/4 teaspoon of cinnamon.
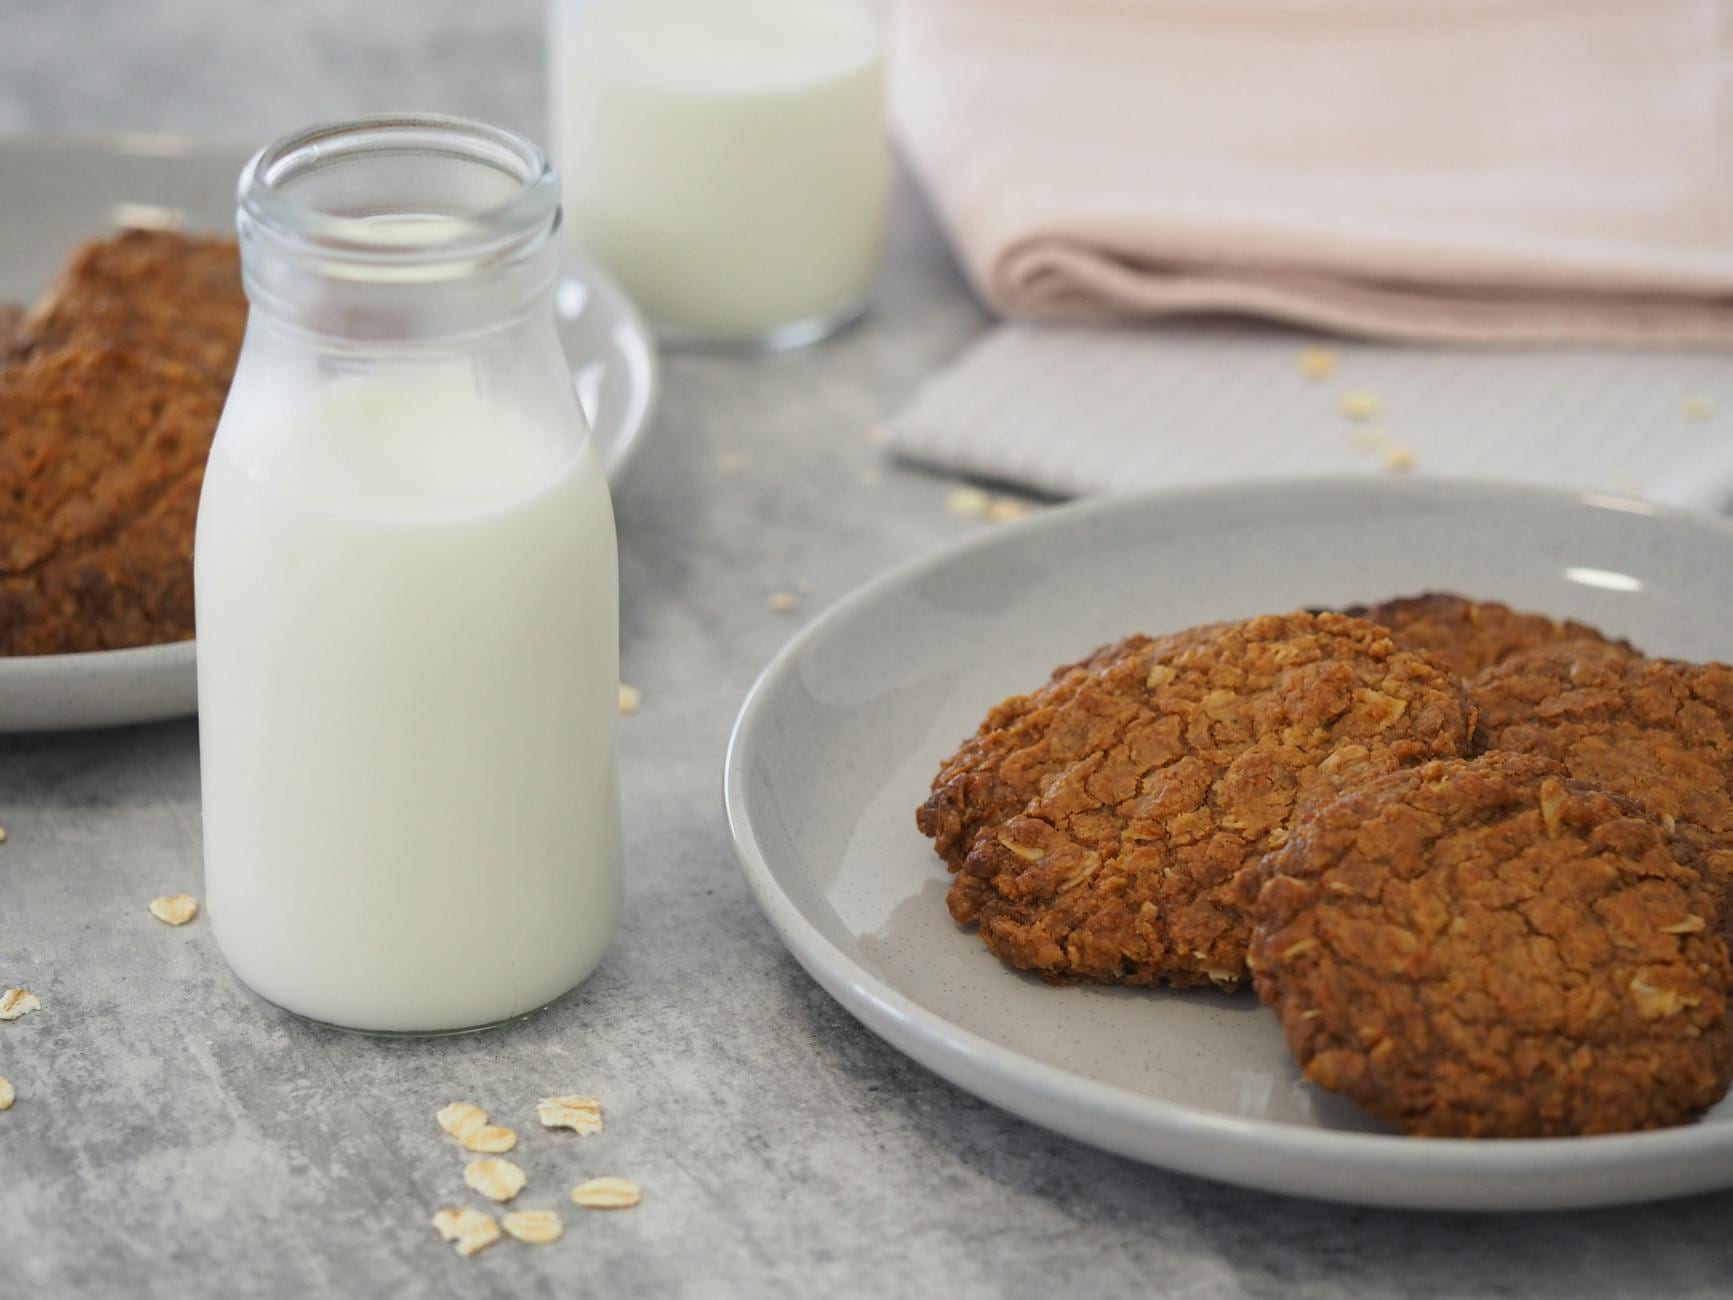
- Oat Milk for Baking: Use it in place of dairy milk in your favorite recipes - it works beautifully in pancakes, muffins, and cakes.
The Bottom Line: A Sustainable Sip for a Healthier Planet
Making your own oat milk is a simple, affordable, and sustainable way to reduce your environmental impact and save money. It’s not a huge time commitment, and the benefits - from reducing waste to controlling your ingredients - are well worth the effort. So, ditch the plastic cartons and give it a try. You might just be surprised at how easy - and delicious - it can be. Ready to give it a shot?
Keep This Practical
Sustainable habits stick best when they fit your budget and your routine at the same time. Choose the one change that feels realistic this week, and let consistency do more than guilt ever will.
Tools Worth A Look
If you are trying to make greener routines easier to keep, the products below are the most relevant follow-up.
- Backyard Homestead On Any Budget: Your Step-by-Step GuideThe Sustainable Home: The definitive interior design guide to creating a stylish, environmentally conscious homeGreen Living in Small Spaces: Simple, Sustainable Habits for Apartment LivingLiving Green on a Budget: A BEGINNER'S GUIDEGreen On A Dime: A Practical Guide to Sustainable Living on a Budget
Some of the links on this page are Amazon affiliate links, which means I may earn a small commission if you make a purchase through them. As an Amazon Associate, I earn from qualifying purchases.
Related ReadingMore from Earth Wise Budget
DIY Oat Milk: Avoiding Common Budget Blunders
on a Budget: Avoiding the Mistakes That Make It Slimy
Easy Oat Milk: Budget-Friendly DIY Recipes
is easier to make sense of when you break it down into the part that matters most first. Instead of chasing every option at once, it usually helps to focus on what.
DIY Oat Milk: Simple & Cheap
DIY Oat Milk: Simple & Cheap offers a clearer, more practical take on diy oat milk so readers can make the next move with less confusion and more confidence.