This Earth Wise Budget guide looks at DIY Oat Milk through the lens of realistic tradeoffs, simple next steps, and long-term usefulness.
DIY Oat Milk on a Budget: Avoiding the Mistakes That Make It Slimy
The Basics: What You’ll Need (DIY Oat Milk)
Let’s start with the essentials. Making oat milk is remarkably simple, and the ingredient list is short and sweet. Here’s what you’ll need to get started:
- 4 Cups of Water: Tap water is perfectly fine! Don’t feel like you need to spring for a fancy filter unless you really want to - it’s a nice upgrade for flavor, but not essential. Interestingly, slightly cooler water (around 40°F or 4°C) can actually help prevent the milk from getting too warm during blending, which can sometimes lead to a less stable, more slimy texture. Experiment to see what works best for you.
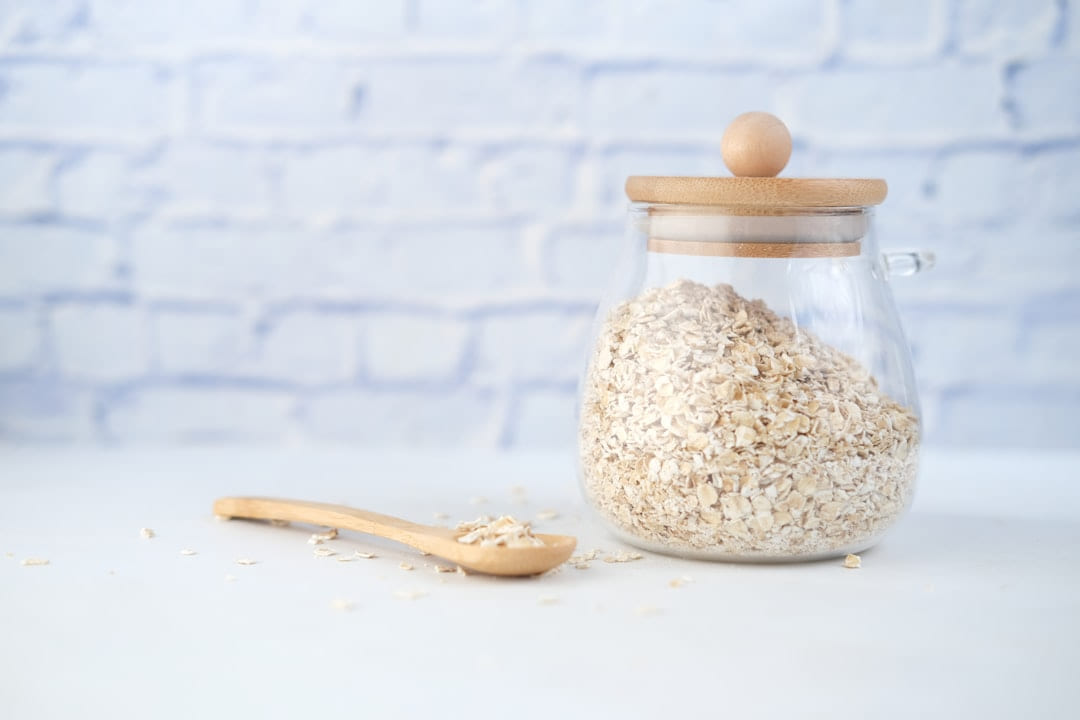
- Rolled Oats: This is where you’ll save the most money. Avoid quick-cooking or steel-cut oats - rolled oats are consistently the cheapest and yield the best results. Aim for about 1 cup of rolled oats per 4 cups of water.
- Pinch of Salt: Just a tiny pinch (about 1/8 teaspoon) to balance the sweetness of the oats and enhance the flavor.
- Flavoring (Optional): This is where you can get creative! A splash of vanilla extract (a few drops - seriously, just a few!) or a teaspoon of maple syrup are popular choices. However, keep these additions minimal to keep costs down. Overdoing the sweeteners can throw off the texture, so a little goes a *very* long way. Plain oat milk is perfectly delicious too!
Keeping Costs Down: Smart Ingredient Choices
Let’s be honest - sustainability and frugality go hand in hand. Making oat milk at home is a fantastic way to reduce your spending and your environmental impact. Don’t expect to transform your oat milk into a luxury item; that’s perfectly okay! The key is making smart choices. Rolled oats are consistently the cheapest option. Water is, unsurprisingly, your biggest expense. If you have access to filtered water, great - it can improve the taste, but using tap water is perfectly acceptable and a huge cost saver. Flavoring is where you can really be frugal. A tiny bit of vanilla extract goes a long way. Maple syrup is a good option, but a little goes a very long way. Don’t feel like you need to add anything at all - plain oat milk is delicious!
Avoiding the Common Pitfalls - A Few Key Things to Watch Out For
Homemade oat milk isn’t always straightforward. Here’s what not to do, and how to avoid those frustrating, slimy results:
- Over-Blending: This is the biggest culprit for slimy oat milk. Seriously, stop blending as soon as it’s smooth. Over-blending releases too much starch from the oats, creating a gluey texture. Aim for 30-60 seconds, and then pull the plug. Listen for the sound - it should transition from a vortex to a smoother, more consistent mixture.
- Insufficient Straining: Don’t skip this step! You want to remove the oat solids. A simple cheesecloth lined sieve works really well, and it’s incredibly cheap. A nut milk bag is a good investment if you plan to make oat milk regularly (around $10-$15), but a cheesecloth is perfectly adequate for occasional batches. Line the sieve with several layers of cheesecloth to ensure a thorough straining process.
- Using Too Much Water: It seems counterintuitive, but adding too much water dilutes the flavor and makes the milk thinner. Start with 4 cups and adjust slightly to achieve your desired consistency. You can always add more water later if needed, but you can’t easily take it away.
- Not Refrigerating Immediately: This is crucial. Homemade oat milk doesn’t have the preservatives of store-bought versions, so it can quickly spoil. Refrigerate it within 30 minutes of making it. The faster you cool it down, the longer it will last.
- Ignoring Separation: It’s normal for oat milk to separate a bit in the fridge. Just give it a gentle shake before pouring - it’ll recombine. Don’t panic! It’s a sign of healthy, natural oat milk.
Storage & How Long It Lasts
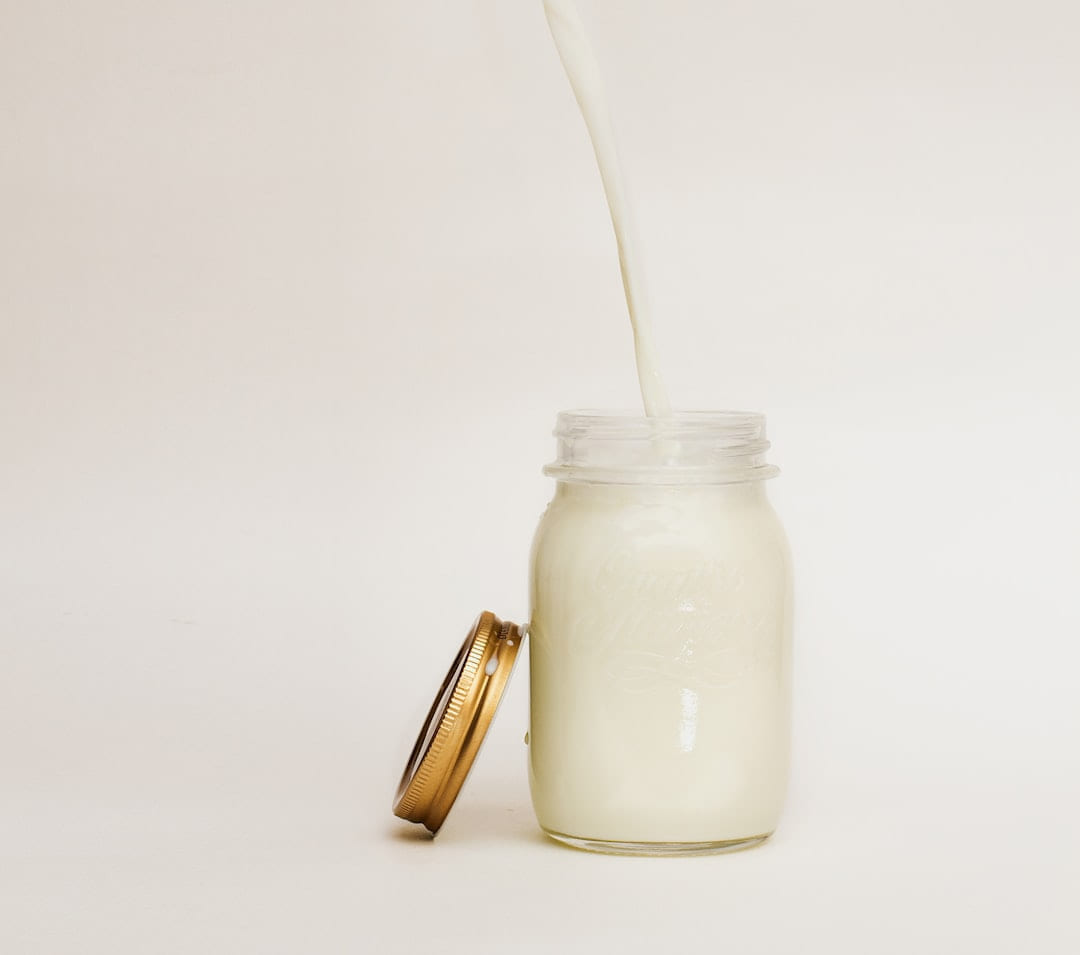
Proper storage is key to keeping your homemade oat milk fresh and delicious. Store it in airtight containers - I’ve had great success with reusable glass jars. They look beautiful on the counter and are much more sustainable than plastic. Keep it in the refrigerator at a consistent temperature (around 35-40°F or 2-4°C). Homemade oat milk typically lasts for 3-5 days in the fridge. You’ll notice a slight separation - that’s normal. Just shake it well before serving. If it smells off or looks cloudy, it’s best to discard it.
Cost vs. Store-Bought - A Quick Comparison
Let’s put this into perspective. A batch of homemade oat milk (using the ingredients we’ve discussed) typically costs around $1.50 - $2.50. A carton of store-bought oat milk can easily run $3-$5, and often more depending on the brand and where you buy it. That’s a significant savings! Beyond the cost, there’s the environmental impact. By making your own oat milk, you’re dramatically reducing your plastic waste - think about all those cartons ending up in landfills. Plus, you’re controlling the ingredients, avoiding unnecessary additives and preservatives. It's a small change that makes a big difference.
Customization Ideas - Level Up Your Oat Milk
Once you’ve mastered the basic recipe, feel free to experiment with different flavor combinations. Here are a few ideas to get you started:
- Chocolate Oat Milk: Add 1-2 tablespoons of unsweetened cocoa powder.
- Vanilla Cinnamon Oat Milk: Add 1/2 teaspoon of cinnamon along with the vanilla extract.
- Maple Pecan Oat Milk: Add 1-2 tablespoons of maple syrup and a pinch of chopped pecans (blend in briefly for a little texture).
Pick the easiest win first
Most people get better results with DIY Oat Milk when they narrow the decision to one real problem. That could be saving time, trimming cost, reducing friction, or making the routine easier to keep up.
This usually gets easier once you make a short list of priorities. A tighter list tends to produce better decisions than trying to solve every possible problem at once.
Another useful filter is asking what you would still recommend if the budget got tighter, the schedule got busier, or the setup had to be easier for someone else to manage. The answers to that question usually reveal which advice is durable and which advice only works under ideal conditions.
The tradeoff most people notice late
One common mistake with DIY Oat Milk is expecting every option to solve the whole problem. In reality, some choices are better for convenience, some for reliability, and some simply for keeping the budget under control.
Before spending more, it is worth checking the setup, upkeep, and learning curve. Small hassles matter here because they are usually what decide whether something stays useful or gets ignored.
It is easy to underestimate how much clarity comes from removing one unnecessary layer. In practice, trimming one complication often does more for DIY Oat Milk than adding one more feature, one more product, or one more clever workaround.
Conclusion
Keep This Practical
The practical version of low-waste living is usually smaller and steadier than it looks online. Start with the swap you can repeat easily, then build from there.
Tools Worth A Look
The picks here are best used as supports for repeatable low-waste habits, not one-time feel-good purchases.
- How to Make a Budget Plan - Planning and Budgeting for SuccessYour Sustainable Small Farm A Practical Guide for Thriving in Eco-Friendly AgricultureS.T.E.P.S Towards Organic Living: Non-Toxic Living on a BudgetOrganic Cooking on a Budget: How to Grow Organic, Buy Local, Waste NothingSustainable Living for Urban Renters: Practical Eco-Friendly Tips to Save Money, Reduce Waste, and Thrive in Small Spaces
Some of the links on this page are Amazon affiliate links, which means I may earn a small commission if you make a purchase through them. As an Amazon Associate, I earn from qualifying purchases.
Related ReadingMore from Earth Wise Budget
Easy Oat Milk: Budget-Friendly DIY Recipes
is easier to make sense of when you break it down into the part that matters most first. Instead of chasing every option at once, it usually helps to focus on what.
DIY Oat Milk: Simple & Cheap
DIY Oat Milk: Simple & Cheap offers a clearer, more practical take on diy oat milk so readers can make the next move with less confusion and more confidence.
Make Your Own Budget Oat Milk at Home
Make Own Budget Oat can be easier to approach when you start with a few practical basics. Let’s be honest, a carton of oat milk in the morning feels pretty g