
Let’s be honest, the price of oat milk has been creeping up lately. It’s a fantastic alternative to dairy, and I’m a big believer in sustainable choices, but shelling out $5 or $6 for a carton just isn’t always feasible. Plus, all that packaging… it adds up. The good news is, you can absolutely make creamy, delicious oat milk at home for a fraction of the cost, and it’s surprisingly simple. this post will walk you through creating a satisfying oat milk substitute using minimal ingredients and equipment - all while saving money and reducing your environmental impact.
Ingredient Breakdown & Cost-Effectiveness (Oat Milk)
The beauty of DIY oat milk is how few ingredients you actually need. At its core, it’s just rolled oats and water. Seriously, that’s it. You’ll likely spend between $2 and $4 for a typical batch, depending on where you buy your oats. Now, you can splurge on fancy steel-cut oats - they have a slightly nuttier flavor - but rolled oats are perfectly fine, and they’re generally cheaper. Don’t feel pressured to add extras right away. Vanilla extract, a little maple syrup, or even a date or two can boost the flavor and sweetness, but those are optional and add to the cost. Starting with just oats and water lets you get a feel for the process before experimenting.
Equipment Checklist - Keep it Budget-Friendly
You don’t need a fancy laboratory to make oat milk. A basic blender is your primary tool, and honestly, a decent, inexpensive model will do the trick. I’ve been using a simple one for years and it still goes strong. Then you'll need some jars - old mason jars work perfectly, or even repurposed yogurt containers. Don’t worry about buying anything fancy. If you want to strain the milk more effectively, a cheesecloth is helpful - you can find a small pack for around $5. A nut milk bag is a slightly more expensive option (around $10-$15), but it lasts much longer and is reusable. It’s a worthwhile investment if you plan to make oat milk regularly. Here’s a quick visual to show you how minimal the equipment needs to be:
(Imagine a photo here showing a blender and a few jars)
Step-by-Step Instructions
- Combine Oats and Water: Start with 1 cup of rolled oats and 4 cups of cold water. Cold water is key - it helps prevent the oats from becoming slimy.
- Blend: Blend on high speed for 30-60 seconds, until the mixture is completely smooth and milky. Don’t over-blend, or you’ll end up with a watery consistency.
- Strain: Place a nut milk bag or several layers of cheesecloth over a bowl or jar. Pour the oat mixture into the bag and gently squeeze until all the liquid has been extracted. This might take a few minutes - be patient!
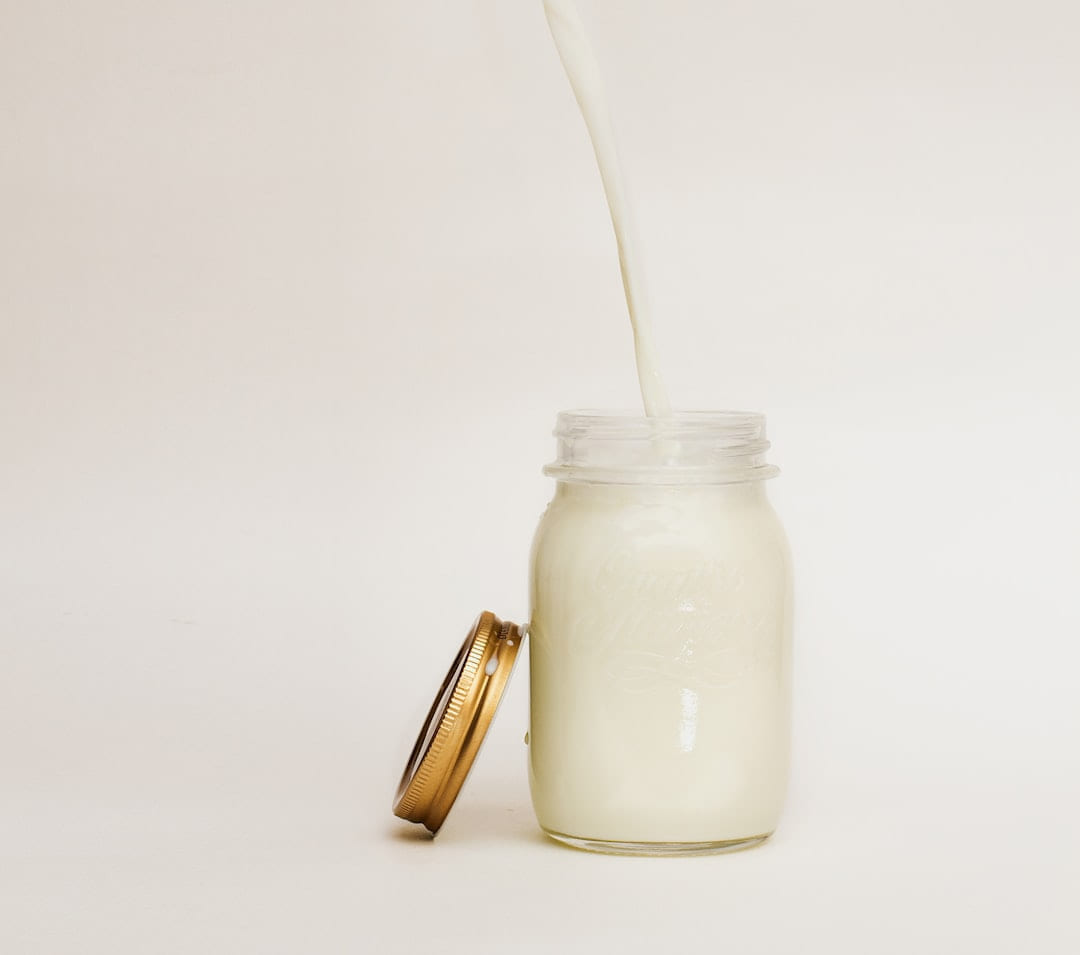
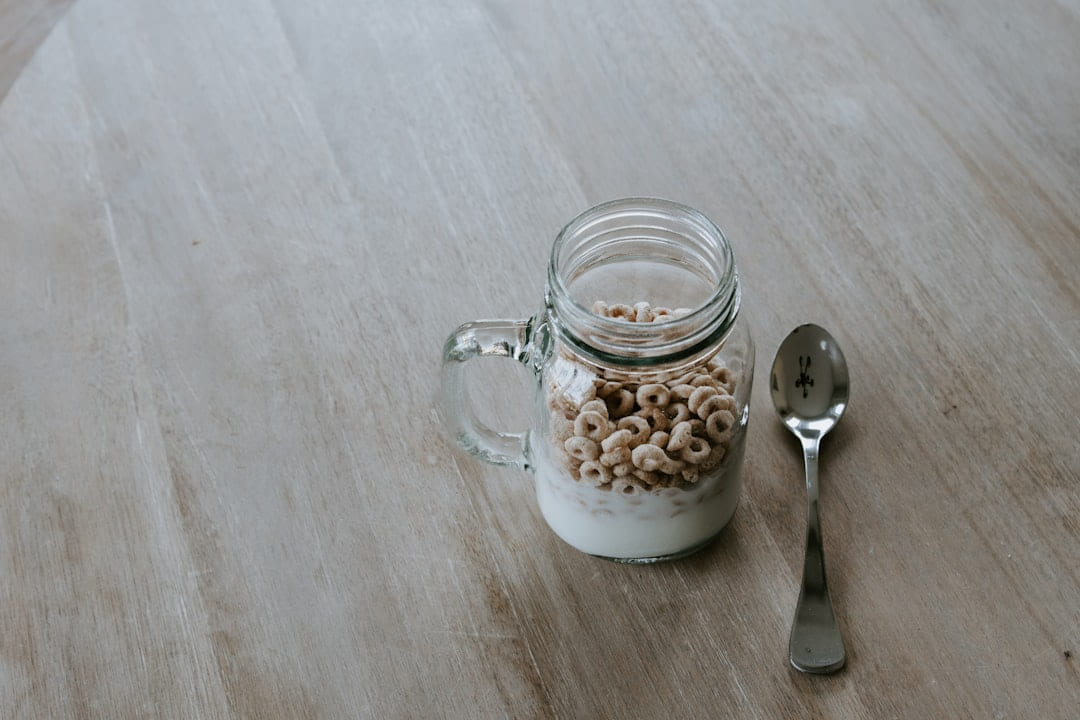
- Pour and Enjoy: Pour your homemade oat milk into a clean jar and refrigerate.
The whole process should take about 10-15 minutes, tops. It’s genuinely very straightforward, and you’ll be surprised how quickly you get the hang of it.
Troubleshooting & Storage
Sometimes, homemade oat milk can get a little slimy. This usually happens if you use too much water or don’t blend the mixture thoroughly enough. If this happens, try reducing the amount of water next time. Another common issue is separation - that’s perfectly normal! Just shake the jar well before using. Homemade oat milk will keep in the refrigerator for about 3-5 days. To prevent separation, store it in the fridge and give it a good shake before each use. Adding a pinch of salt can also help stabilize the milk.
Budget Comparison & Sustainability Impact
Let's talk numbers. Making a batch of oat milk costs roughly $3, compared to the $5-$7 you’d typically pay for a carton at the store. Over a month, that’s a significant saving. Beyond the cost, consider the environmental impact. By making your own oat milk, you’re drastically reducing the amount of plastic packaging that ends up in landfills. It’s a small change that can make a difference.
Pick the easiest win first
Most people get better results with DIY Oat Milk: Your Budget Checklist when they narrow the decision to one real problem. That could be saving time, trimming cost, reducing friction, or making the routine easier to keep up.
This usually gets easier once you make a short list of priorities. A tighter list tends to produce better decisions than trying to solve every possible problem at once.
Another useful filter is asking what you would still recommend if the budget got tighter, the schedule got busier, or the setup had to be easier for someone else to manage. The answers to that question usually reveal which advice is durable and which advice only works under ideal conditions.
The tradeoff most people notice late
One common mistake with DIY Oat Milk: Your Budget Checklist is expecting every option to solve the whole problem. In reality, some choices are better for convenience, some for reliability, and some simply for keeping the budget under control.
Before spending more, it is worth checking the setup, upkeep, and learning curve. Small hassles matter here because they are usually what decide whether something stays useful or gets ignored.
It is easy to underestimate how much clarity comes from removing one unnecessary layer. In practice, trimming one complication often does more for DIY Oat Milk: Your Budget Checklist than adding one more feature, one more product, or one more clever workaround.
What makes this easier to live with
The options that age well are usually the ones that are easy to repeat. Reliability and low hassle often matter more than the most impressive-looking feature list.
In a topic like Sustainable living on a budget, manageable almost always beats impressive. If something is simple enough to keep using, it is usually doing more real work for you.
Readers usually get better results when they treat advice as something to test and refine, not something to obey perfectly. That mindset creates room for real judgment, which is often the difference between content that sounds smart and guidance that is actually useful.
Conclusion
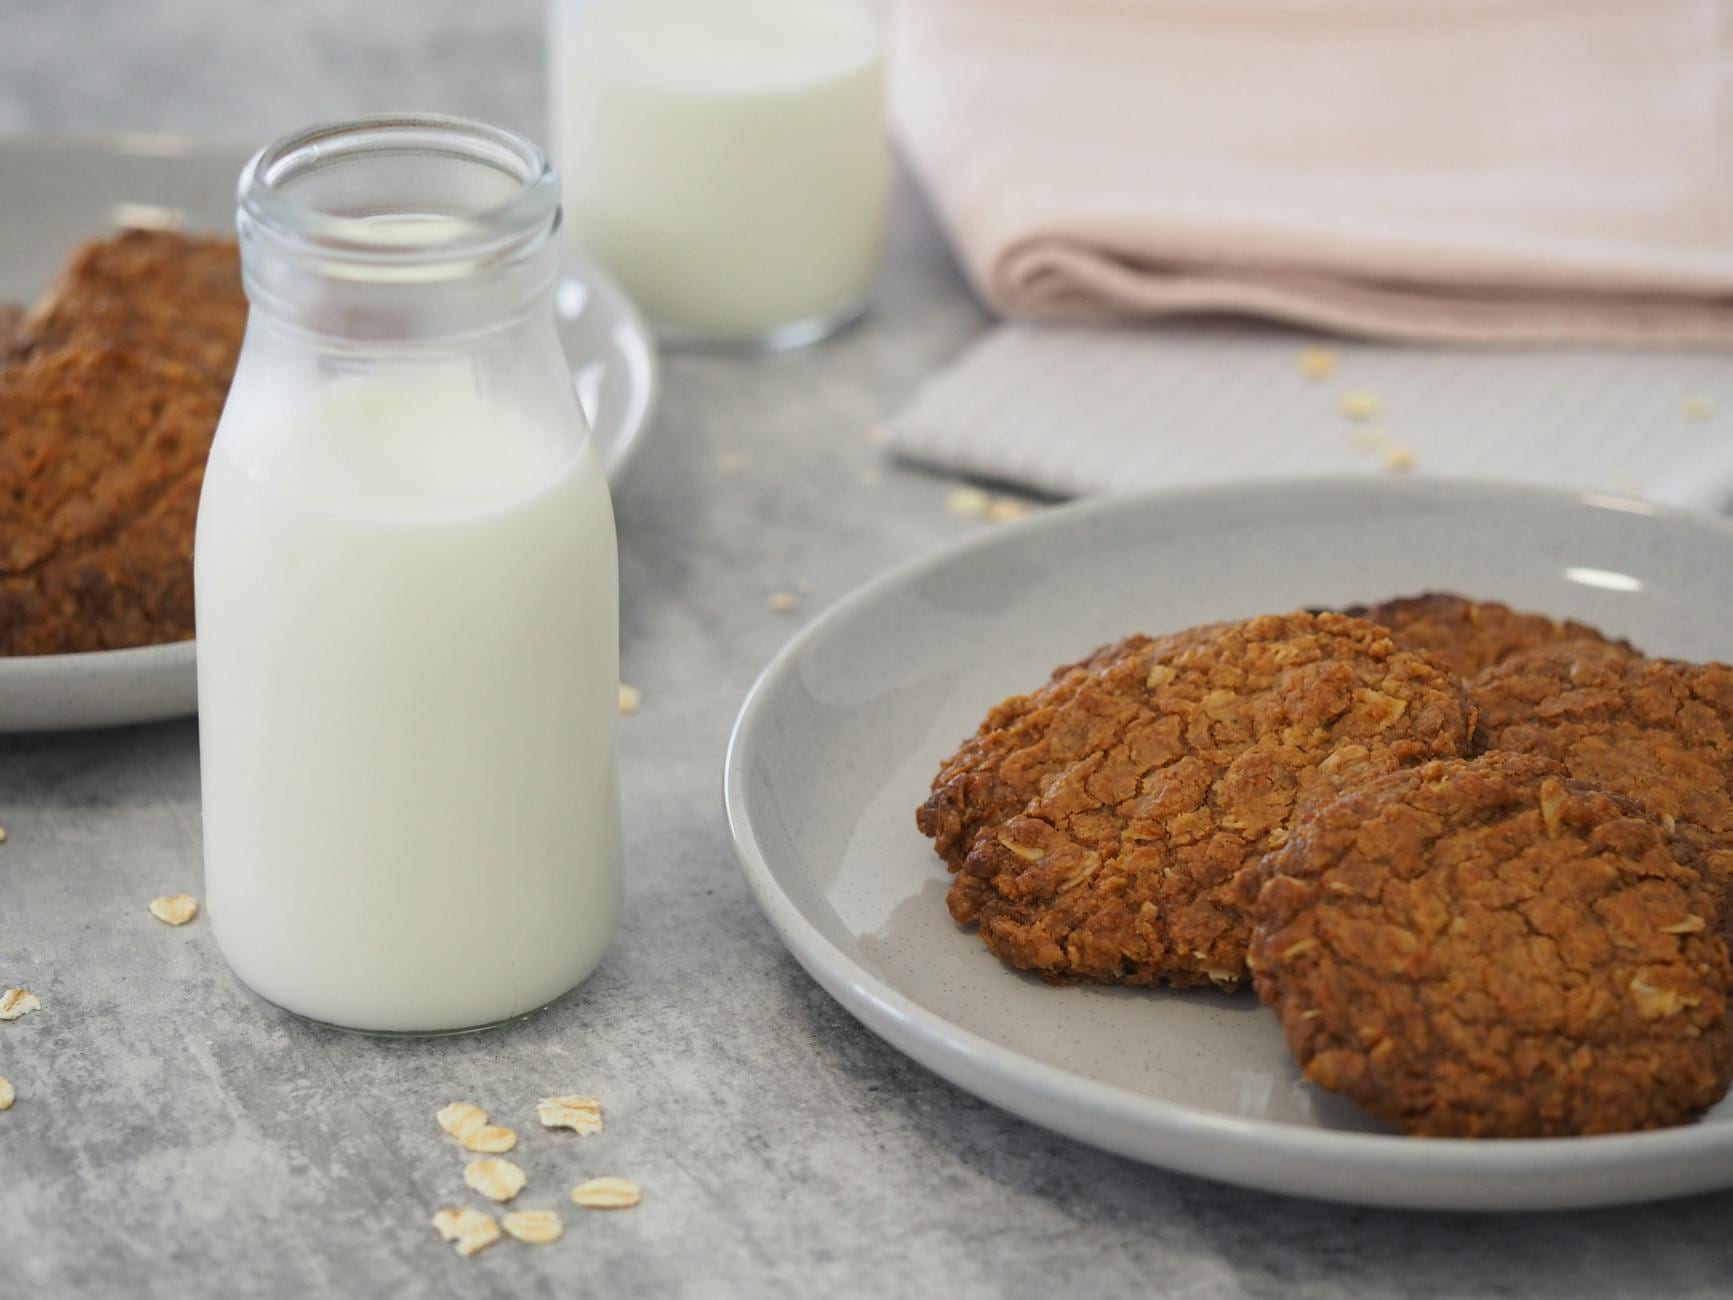
Making your own oat milk is a simple, budget-friendly, and sustainable swap that’s easier than you might think. You’re saving money, reducing waste, and enjoying a delicious, creamy milk alternative. Why not give it a try? Start with this basic recipe, and then feel free to experiment with flavors and additions. Looking for more ways to reduce your footprint? Check out our other posts on DIY cleaning solutions and beeswax wraps - we’ve got plenty more ideas to get you started!
Explore more sustainable swaps here.
Keep This Practical
Sustainable habits stick best when they fit your budget and your routine at the same time. Choose the one change that feels realistic this week, and let consistency do more than guilt ever will.
Tools Worth A Look
If you are trying to make greener routines easier to keep, the products below are the most relevant follow-up.
- Sustainable Living on a Budget: An Affordable Guide to Earth-Friendly ChoicesLiving a sustainable life: A quick guide with tips on how to change every aspect of your life in a dayBackyard Homesteading Basics: Practial, Time-Saving Guide To Self-Sufficient LivingMinimal: For Simple and Sustainable LivingThe Green Apartment: Sustainable Living for Renters in the City: Zero-Waste, Energy-Efficient Hacks for Urban Renters on a Budget
Some of the links on this page are Amazon affiliate links, which means I may earn a small commission if you make a purchase through them. As an Amazon Associate, I earn from qualifying purchases.
Related ReadingMore from Earth Wise Budget
DIY Oat Milk: Avoiding Common Budget Blunders
on a Budget: Avoiding the Mistakes That Make It Slimy
Easy Oat Milk: Budget-Friendly DIY Recipes
is easier to make sense of when you break it down into the part that matters most first. Instead of chasing every option at once, it usually helps to focus on what.
DIY Oat Milk: Simple & Cheap
DIY Oat Milk: Simple & Cheap offers a clearer, more practical take on diy oat milk so readers can make the next move with less confusion and more confidence.