It’s easy to feel a little sticker-shocked when you see the price of oat milk at the grocery store these days. Plus, let’s be honest, all that packaging adds up - and it’s not exactly helping the planet. Thankfully, making your own oat milk at home is surprisingly simple, and it’s a really smart way to save money and cut down on waste. It’s not complicated, and with a few basic steps, you can consistently create a delicious, creamy milk without emptying your wallet. Let’s walk through how to do it right.
The Really Simple Ingredients (Oat Milk)
Let’s start with the basics: you don’t need a fancy pantry to get started. The core of this recipe is incredibly straightforward - just rolled oats, water, and a tiny pinch of salt. Seriously, that’s it! Good quality rolled oats are key here; look for ones that aren’t overly processed - something labeled “old fashioned” or “rolled” is usually a good choice. You can often find them for a few dollars a bag, and the price tends to be pretty steady. Avoid steel-cut oats; they’re just too thick to blend properly. The type of oats can subtly change the flavor, too. White oats will give you a cleaner, milder taste, while darker, redder oats have a slightly nutty flavor. For keeping costs down, stick with white or light-colored rolled oats - they’re generally the most affordable. Finally, a tiny pinch of salt - it really helps balance the sweetness of the oats and brings out their natural flavor.
Getting Equipped - You Don’t Need Much
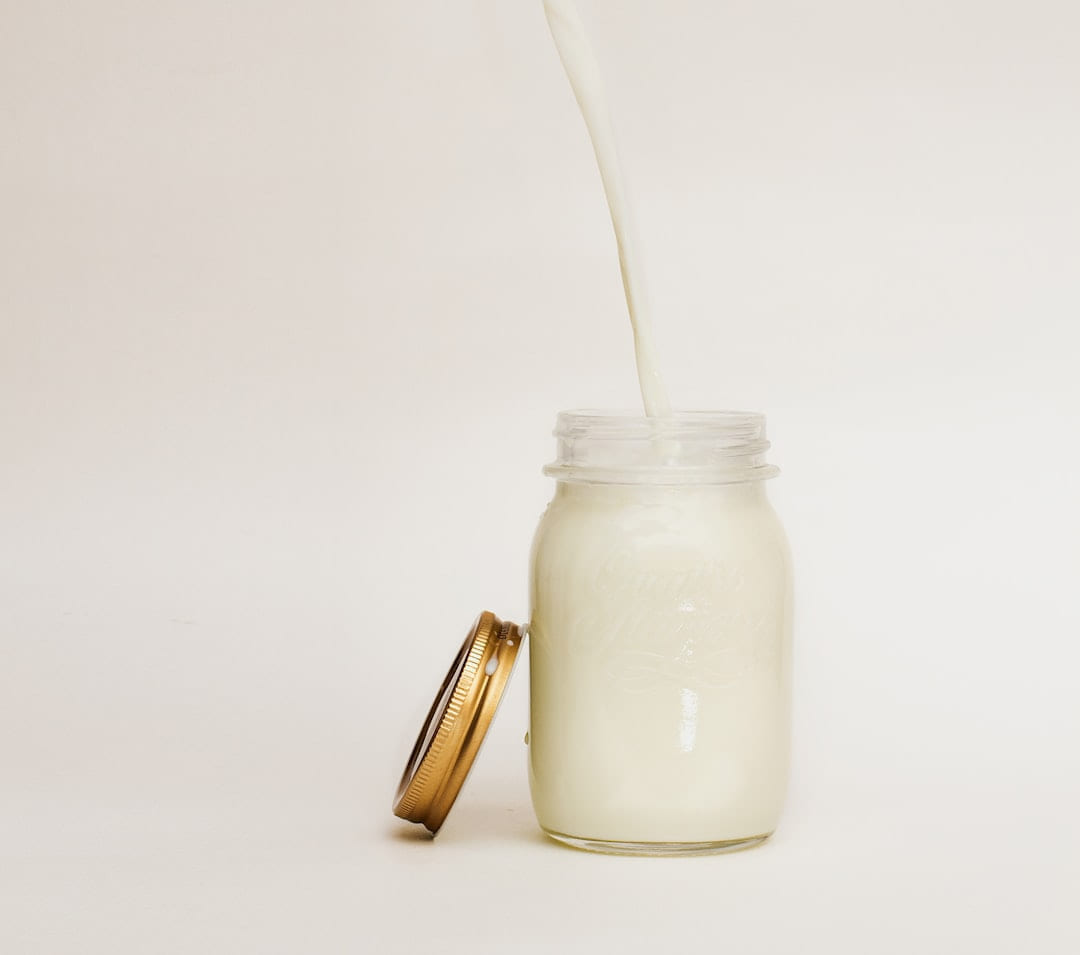
Don’t worry about investing in a ton of specialized equipment. A standard blender will absolutely do the trick. If you’re on a tight budget, an immersion blender is a fantastic and affordable alternative - it’s also super easy to clean. Beyond that, you’ll need something to strain the milk. A fine-mesh sieve lined with cheesecloth is ideal. You can find cheesecloth pretty cheaply, or you might even have a clean, thin cotton tea towel that would work just as well. Alternatively, a nut milk bag is a reusable option - they’re a bit pricier upfront, but they’ll pay for themselves over time. Just a simple jar or container for storing your homemade milk is all you need - glass jars are great because they don’t impart any flavors, but plastic ones work just fine.
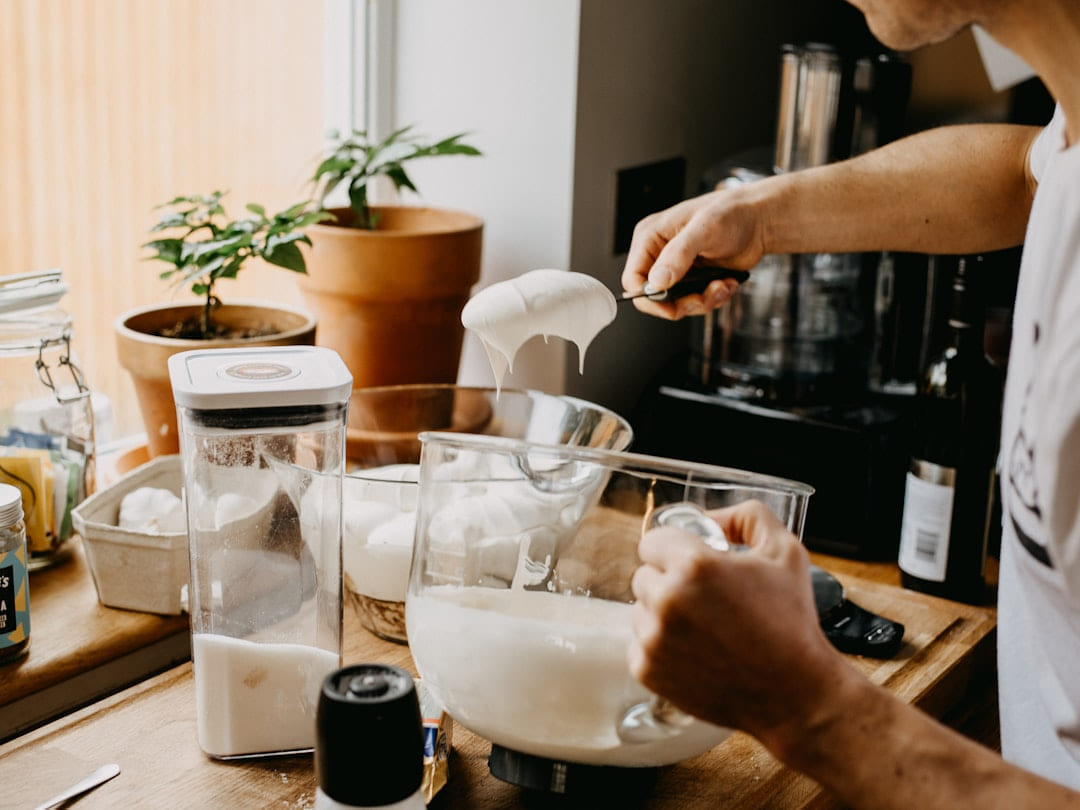
Let’s Blend It Up - A Quick Guide
Here’s the simple process: this recipe makes about 4 cups of oat milk. 1. Combine: In your blender, combine 1 cup of rolled oats with 4 cups of cold water. Starting with cold water helps prevent the oats from getting too hot and mushy during blending. 2. Blend: Blend on high speed for 45-60 seconds. It’s important to blend for long enough to break down the oats, but not so long that it becomes a paste. You’ll notice the mixture will thicken considerably. 3. Strain: Place your cheesecloth-lined sieve or nut milk bag over a large bowl. Pour the blended oat mixture into the sieve. 4. Squeeze: Gently squeeze the cheesecloth or bag to extract all the milk. You’ll likely get a second, thinner “oat pulp” layer - you can save this for baking, smoothies, or even adding to compost. 5. Store: Pour the strained oat milk into a clean jar and refrigerate. It should keep for about 3-5 days.
Finding Your Perfect Consistency
One of the trickiest parts is getting the texture just right. The biggest variable is the amount of water you use. If you like a thinner, more drinkable milk, use 4 cups of water. For a creamier, richer milk, reduce the water to 3.5 cups. Experiment a little to find what you prefer! Also, blending time can make a difference - going too short will result in a grainy texture, while blending for a little longer (up to 60 seconds) can help create a smoother result.
Adding a Little Something Extra - Flavor Time
Oat milk on its own is perfectly fine, but a little extra flavor can really elevate it. Vanilla extract is a classic - just a teaspoon or two adds a lovely warmth. Cinnamon is another great option, especially in the fall. Cocoa powder can create a decadent chocolate oat milk. You can also add a touch of maple syrup or agave nectar if you prefer a sweeter milk. Start with a teaspoon and add more to taste.
Keeping It Fresh - Storage and Separation
Homemade oat milk doesn’t last as long as store-bought, but it does last longer than you might think. Refrigerate it in an airtight container and it should stay good for 3-5 days. Now, you’ll inevitably notice some separation - that’s totally normal! It happens because the oats settle to the bottom. Simply shake the jar vigorously before serving. Adding a tiny pinch of xanthan gum (like 1/8 teaspoon per batch) can help stabilize the milk and prevent separation, but it’s not essential, and it adds to the cost.
Thinking About the Bigger Picture - Sustainability
Making your own oat milk isn’t just about saving money; it’s a small step towards a more sustainable lifestyle. By reducing your reliance on packaged milk, you’re minimizing plastic waste and reducing the carbon footprint associated with transportation and processing. And don’t forget about the oat pulp! It’s a fantastic addition to compost bins, returning nutrients to the soil.
Pick the easiest win first
Most people get better results with DIY Oat Milk: Easy & Affordable Recipes when they narrow the decision to one real problem. That could be saving time, trimming cost, reducing friction, or making the routine easier to keep up.
This usually gets easier once you make a short list of priorities. A tighter list tends to produce better decisions than trying to solve every possible problem at once.
Another useful filter is asking what you would still recommend if the budget got tighter, the schedule got busier, or the setup had to be easier for someone else to manage. The answers to that question usually reveal which advice is durable and which advice only works under ideal conditions.
The tradeoff most people notice late
One common mistake with DIY Oat Milk: Easy & Affordable Recipes is expecting every option to solve the whole problem. In reality, some choices are better for convenience, some for reliability, and some simply for keeping the budget under control.
Before spending more, it is worth checking the setup, upkeep, and learning curve. Small hassles matter here because they are usually what decide whether something stays useful or gets ignored.
It is easy to underestimate how much clarity comes from removing one unnecessary layer. In practice, trimming one complication often does more for DIY Oat Milk: Easy & Affordable Recipes than adding one more feature, one more product, or one more clever workaround.
Keep This Practical
Sustainable habits stick best when they fit your budget and your routine at the same time. Choose the one change that feels realistic this week, and let consistency do more than guilt ever will.
Tools Worth A Look
If you are trying to make greener routines easier to keep, the products below are the most relevant follow-up.
- The DIY Guide to Off Grid Survival Projects: Step-by-Step Manual to Achieve Self SufficiencyFull-Time RV Living: The Practical Guide to Sustainable, Year-Round Life on the RoadThe Barndominium Builder's Handbook: From Blueprint to HomefrontThe Sustainable Home: The definitive interior design guide to creating a stylish, environmentally conscious homeHow to Budget Book for Beginners: Practical Budgeting, Frugal Living, and Money Saving Strategies to Pay Off Debt, Manage Expenses, and Build Financial Freedom
Some of the links on this page are Amazon affiliate links, which means I may earn a small commission if you make a purchase through them. As an Amazon Associate, I earn from qualifying purchases.
Related ReadingMore from Earth Wise Budget
DIY Oat Milk: Avoiding Common Budget Blunders
on a Budget: Avoiding the Mistakes That Make It Slimy
Easy Oat Milk: Budget-Friendly DIY Recipes
is easier to make sense of when you break it down into the part that matters most first. Instead of chasing every option at once, it usually helps to focus on what.
DIY Oat Milk: Simple & Cheap
DIY Oat Milk: Simple & Cheap offers a clearer, more practical take on diy oat milk so readers can make the next move with less confusion and more confidence.