
Why Make Your Own Oat Milk?
Beyond the obvious financial benefits, there are several compelling reasons to ditch the carton and embrace the blender. Firstly, you’re controlling the ingredients. You know exactly what’s going into your milk - no sneaky additives, stabilizers, or gums. Secondly, it’s a fantastic way to reduce plastic waste. Those single-use cartons contribute significantly to landfill pollution. Thirdly, it’s a surprisingly satisfying and empowering process. There’s something deeply satisfying about transforming simple ingredients into a delicious and nutritious beverage.
The Core Ingredients: Keeping it Budget-Friendly
The beauty of DIY oat milk is its simplicity. You really only need three things: oats, water, and a pinch of something to help it thicken. Let's break down the best options for each:
- Oats: Rolled oats are the go-to choice. They’re readily available, inexpensive, and create the creamiest milk. Avoid steel-cut oats - they’re too dense and won’t blend properly. A large bag of rolled oats (about 5-10 lbs) will last you a *long* time, easily covering several batches of oat milk. Cost: Roughly $5 - $10 per bag.
- Water: Tap water is perfectly fine! Filtered water will give you a slightly cleaner taste, but it’s not essential. Cost: Negligible.
- Thickening Agent (The Secret Weapon): This is where you can really customize your oat milk. Here are some budget-friendly options:
- Pinch of Salt: Seriously! A tiny pinch of salt enhances the flavor and helps with the texture. Cost: Virtually free.
- Vanilla Extract: A few drops add a lovely sweetness and depth of flavor. Cost: $3 - $5 per bottle (lasts a long time).
- Maple Syrup or Agave Nectar: For a sweeter milk, add a teaspoon or two. Cost: $5 - $8 per bottle.
- Chia Seeds or Flax Seeds (1-2 teaspoons): These create a naturally thicker, almost pudding-like oat milk. They also add a nutritional boost. Cost: Roughly $3 - $5 per bag.
The Step-by-Step Guide: From Oats to Oat Milk
- Rinse the Oats: This is crucial! Rinsing removes excess starch, which prevents your oat milk from becoming slimy.
- Combine in the Blender: Add 1 cup of rinsed oats and 4 cups of water to a high-speed blender.
- Blend Until Smooth: Blend on high for 45-60 seconds, or until completely smooth.
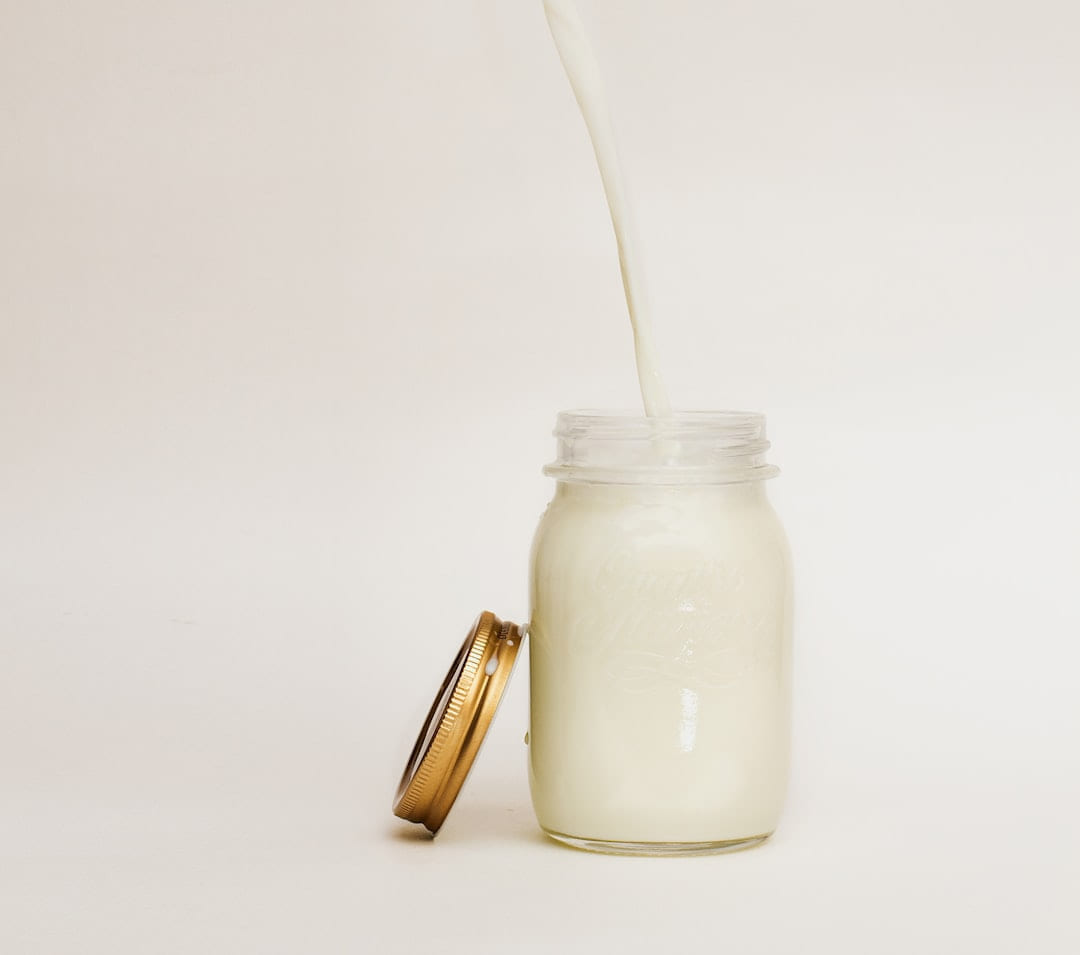
- Strain the Milk: This is the most important step for achieving a silky texture. Line a nut milk bag, cheesecloth, or even a clean thin tea towel with several layers. Pour the blended oat mixture through the strainer, squeezing firmly to extract all the milk.
- Add Your Thickening Agent: Stir in your chosen thickening agent (salt, vanilla, sweetener, or seeds) to taste.
- Store and Enjoy! Store your homemade oat milk in an airtight container in the refrigerator for up to 5 days.
Troubleshooting: Common Issues and Solutions
Don’t be discouraged if your first batch isn’t perfect! Here’s how to tackle some common problems:
- Slimy Oat Milk: You didn’t rinse the oats thoroughly enough. Next time, rinse them really well.
- Thin Oat Milk: You didn’t blend long enough, or you didn’t use enough thickening agent. Try blending for a longer duration or adding a little more chia or flax seeds.
- Gritty Oat Milk: Your blender isn’t powerful enough. Blend for a longer period, or consider using a more powerful blender.
- Too Strong Oat Flavor: Use less oats next time.
Beyond the Basics: Flavor Variations & Uses
Once you’ve mastered the basic recipe, the possibilities are endless! Here are a few ideas to spice things up:
- Chocolate Oat Milk: Add 1-2 tablespoons of cocoa powder.
- Cinnamon Oat Milk: Add 1/2 teaspoon of cinnamon.
- Matcha Oat Milk: Add 1-2 teaspoons of matcha powder.
- Peanut Butter Oat Milk: Blend in 1-2 tablespoons of peanut butter.
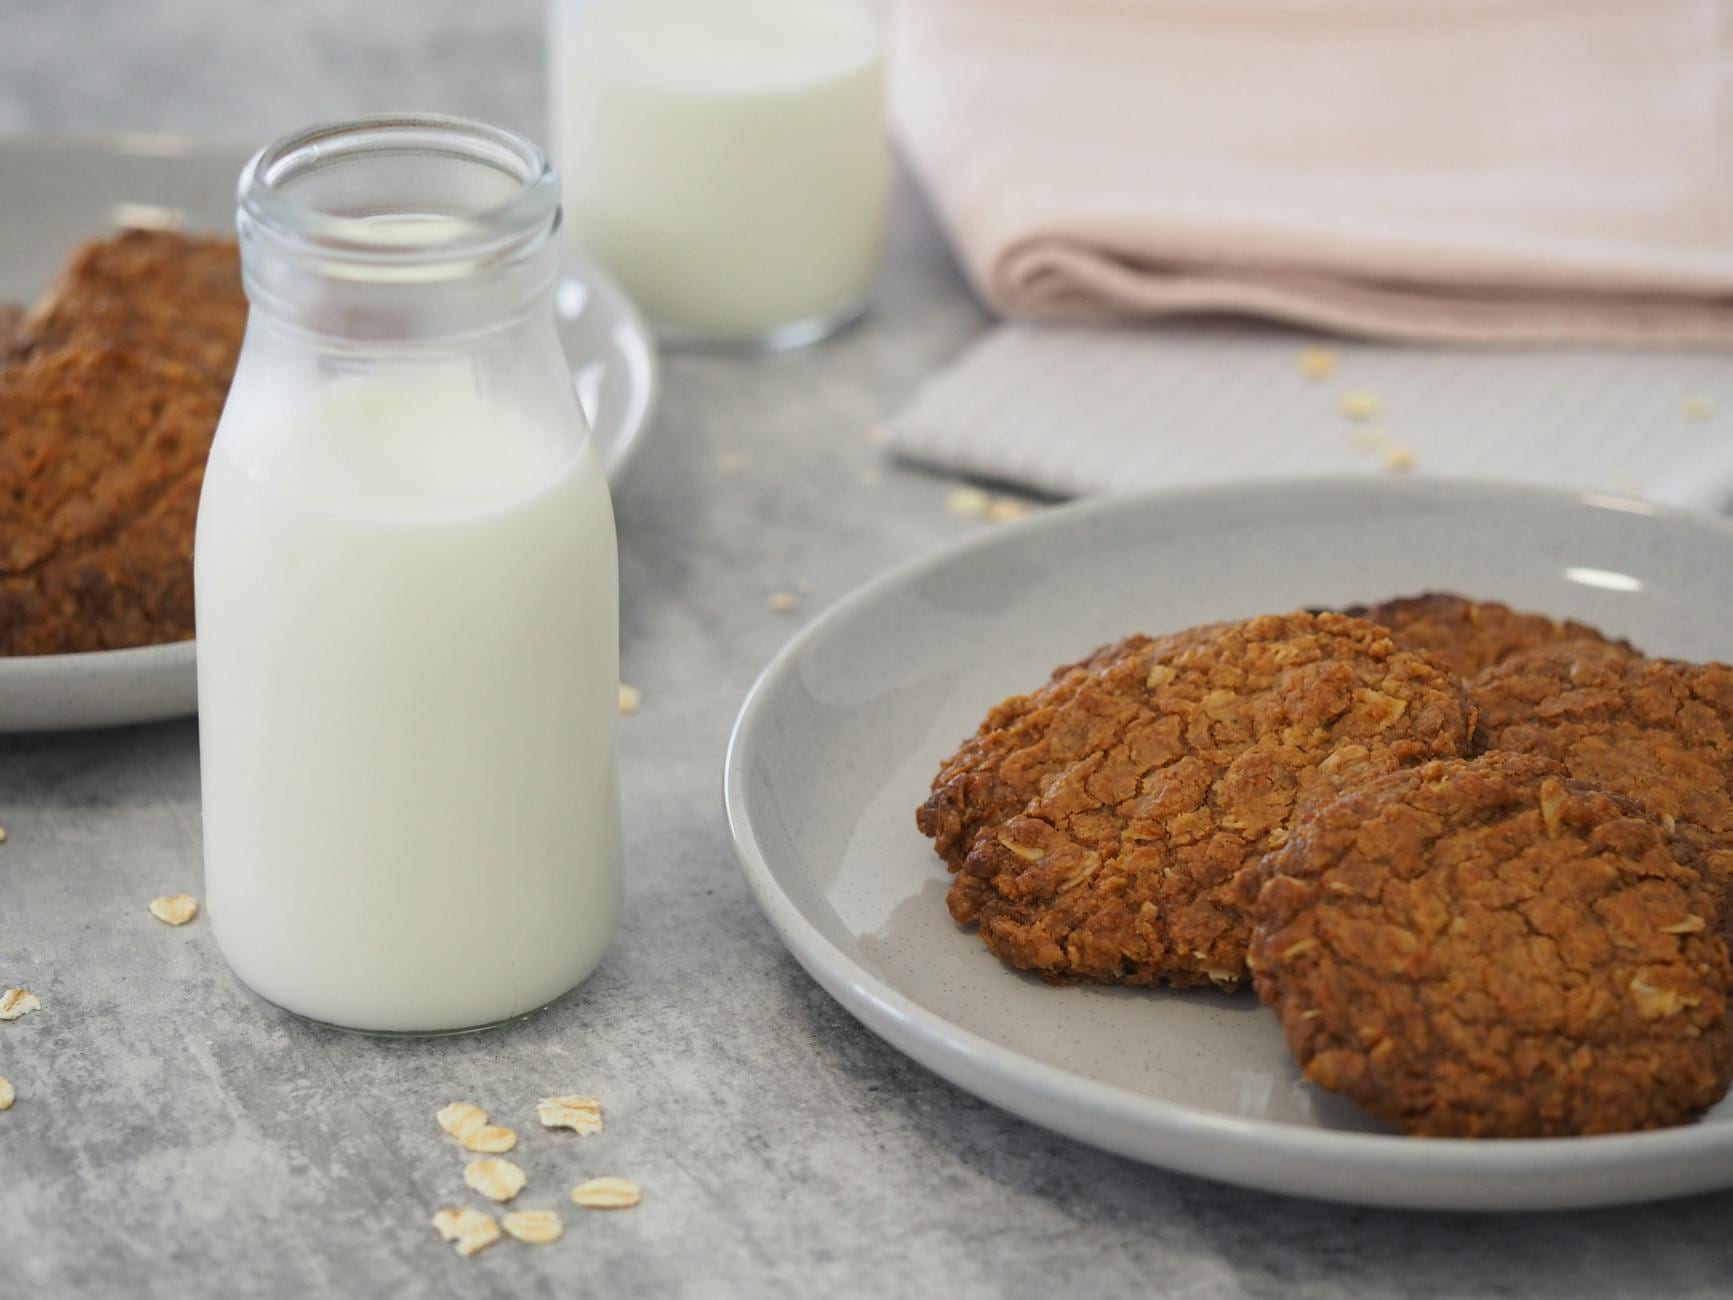
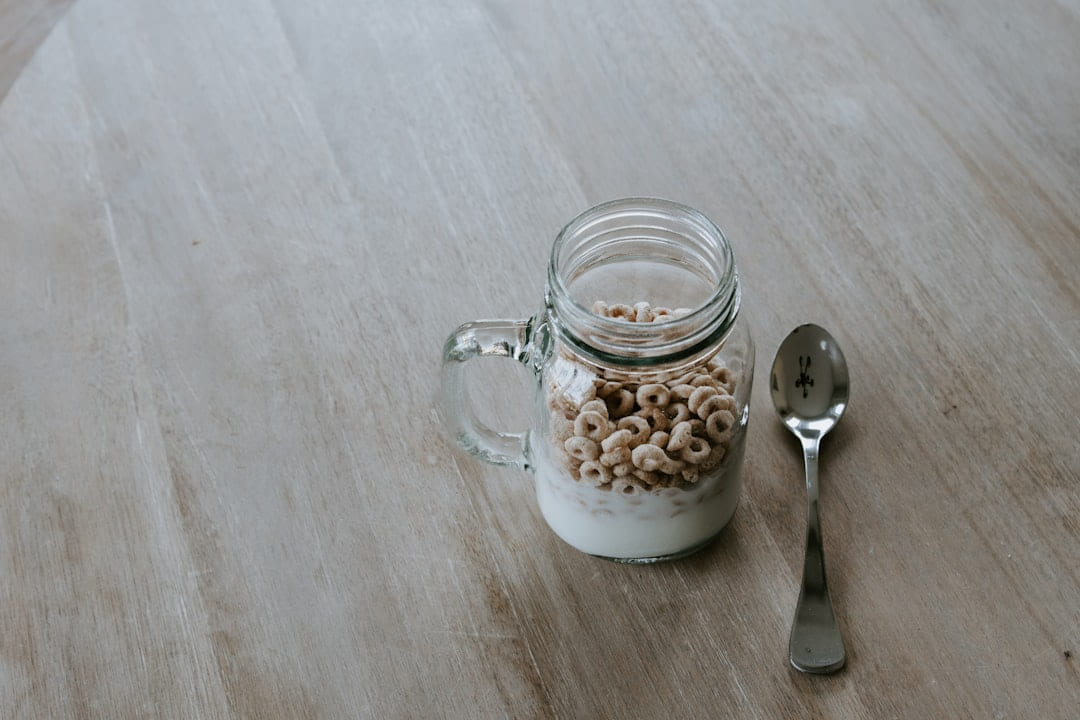
- Uses: Oat milk is incredibly versatile! Use it in coffee, smoothies, cereal, baking, or even savory dishes like soups and sauces.
The Environmental Impact: Why DIY Matters
Cost Breakdown (Approximate - Per Batch):
This is just an estimate, and prices will vary depending on your location and where you source your ingredients.
- Oats: $0.50 - $1.00
- Water: $0.00
- Vanilla Extract (if used): $0.25 - $0.50
- Maple Syrup (if used): $0.50 - $1.00
- Chia/Flax Seeds (if used): $0.50 - $1.00 Total: Approximately $1.75 - $3.50 per batch
Start with what you will actually use
With DIY Oat Milk: A Budget-Friendly Start, the first question is usually not which option looks best on paper. It is which part will make day-to-day life easier, smoother, or cheaper once the novelty wears off.
A lot of options sound great until you picture them in a normal week. If the setup is fussy, the routine is easy to forget, or the maintenance is annoying, the appeal fades quickly.
There is also value in keeping one part of the process deliberately simple. Readers often do better when they identify the one decision that carries the most weight and make that choice carefully before they chase smaller optimizations. That keeps momentum steady and usually prevents the topic from turning into clutter.
What tends to get overlooked
Tradeoffs are normal here. Cost, convenience, upkeep, and flexibility do not always line up neatly, so it helps to decide which tradeoff matters least to you before you commit.
This usually gets easier once you make a short list of priorities. A tighter list tends to produce better decisions than trying to solve every possible problem at once.
Another useful filter is asking what you would still recommend if the budget got tighter, the schedule got busier, or the setup had to be easier for someone else to manage. The answers to that question usually reveal which advice is durable and which advice only works under ideal conditions.
How to keep the setup simple
If you want DIY Oat Milk: A Budget-Friendly Start to hold up over time, choose the version you can actually maintain. That can mean spending less, leaving out an attractive extra, or simplifying the setup so it fits ordinary life.
The version that holds up best is usually the one you can live with on an ordinary day. That often matters more than the version that only feels good when you have extra time, energy, or money.
That is why the best next step is often a modest one with a clear upside. You want something specific enough to act on, flexible enough to adjust, and practical enough that you would still recommend it after the first burst of enthusiasm fades.
Conclusion: Join the Oat Milk Revolution!
Making your own oat milk is a simple, affordable, and incredibly satisfying way to live a more sustainable life. It’s a small change that can make a big difference, both for your wallet and the planet. So, grab your blender, some oats, and get started on your DIY oat milk journey today! Share your creations and tips with us on social media using #DIYoatmilk #EarthWiseBudget - we’d love to see what you’re making!
Keep This Practical
If the advice here feels useful, turn it into one habit you can maintain without extra stress. Sustainable progress tends to come from repeatable decisions, not all-at-once overhauls.
Tools Worth A Look
These recommendations fit readers who want lower-waste, budget-aware tools that support everyday sustainability without overcomplicating it.
- Sustained: Creating a Sustainable House Through Small Changes, Money-Saving Habits, and Natural SolutionsSustainable Urban Living: Transform Your Apartment into a Sustainable, Eco-Friendly HavenBackyard Homesteading Basics: Practial, Time-Saving Guide To Self-Sufficient LivingYour Sustainable Small Farm A Practical Guide for Thriving in Eco-Friendly AgricultureHow to Make a Budget Plan - Planning and Budgeting for Success
Some of the links on this page are Amazon affiliate links, which means I may earn a small commission if you make a purchase through them. As an Amazon Associate, I earn from qualifying purchases.
Related ReadingMore from Earth Wise Budget
DIY Oat Milk: Avoiding Common Budget Blunders
on a Budget: Avoiding the Mistakes That Make It Slimy
Easy Oat Milk: Budget-Friendly DIY Recipes
is easier to make sense of when you break it down into the part that matters most first. Instead of chasing every option at once, it usually helps to focus on what.
DIY Oat Milk: Simple & Cheap
DIY Oat Milk: Simple & Cheap offers a clearer, more practical take on diy oat milk so readers can make the next move with less confusion and more confidence.