Your DIY Reusable Household Items guide: Save Money & the Planet
Sourcing Your Supplies: The Treasure Hunt Begins (DIY Home Swaps: Simple)
DIY Home Swaps: Simple can be easier to approach when you start with a few practical basics. The biggest hurdle for many people considering DIY is often the perceived cost of materials. However, a little resourcefulness can dramatically lower your expenses. Let’s start with where to find your supplies:
- Thrift Stores: Seriously, these are goldmines! You can often find perfectly good fabric remnants, jars, and even containers for a fraction of the price of buying new. Don’t be afraid to get creative with what you find - a slightly stained tea towel can become a fantastic cleaning cloth.
- Fabric Recycling Programs: Most cities and towns now have textile recycling programs. These programs collect unwanted fabric and clothing, often repurposing it into new materials. Check your local government’s website for a list of participating locations. Many offer drop-off bins or even host events where you can donate your old fabrics.
- Upcycling Existing Items: Before buying anything new, take a good look around your home. Old t-shirts, towels, pillowcases, and even socks can be transformed into reusable items.
- Bulk Buying (Strategic): For items like beeswax, cotton balls, or essential oils (for your beeswax wraps), buying in bulk can significantly reduce the per-unit cost.
Cost Comparison (Approximate)
| Item | DIY Cost | Store-Bought Cost |
|---|---|---|
| Reusable Shopping Bag | $2 - $5 | $5 - $10 |
| Beeswax Wrap | $8 - $12 | $10 - $20 |
| Produce Bag | $1 - $3 | $3 - $7 |
| Cleaning Cloths | $0 - $3 | $5 - $10 |
| Glass Jar Storage | $0 - $5 | $8 - $15 |
Let’s Get Crafting: Project Ideas & Instructions
1. Reusable Shopping Bags: A Beginner’s Project
Starting with a simple shopping bag is a fantastic way to build confidence and get your DIY journey rolling. The Spruce Crafts offers a great tutorial for beeswax food wraps (<>), but the basic principles apply to bags too. You’ll need sturdy fabric (canvas or denim work well), beeswax pellets, pine resin, and a little bit of patience. A basic pattern can be found online, and the process is surprisingly straightforward.
2. Beeswax Food Wraps: Ditch the Plastic Wrap
These are a game-changer for reducing plastic waste in the kitchen. They’re reusable, washable, and surprisingly effective at keeping food fresh. The Spruce Crafts tutorial is excellent, but consider experimenting with different fabric patterns for a more personalized touch. Adding dried herbs (like lavender or rosemary) to the wrap can also infuse a pleasant scent.
3. Produce Bags: Keep Your Fruits & Veggies Fresh
Mesh or lightweight cotton fabric is ideal for produce bags. You can sew simple drawstring bags or create mesh bags with elastic closures. These are perfect for storing loose fruits and vegetables like berries, apples, and leafy greens.
4. Cleaning Cloths: Sustainable Scrubbing
Old t-shirts, towels, and flannel sheets make excellent cleaning cloths. Cut them into squares or rectangles and store them in a designated container. They’re far more sustainable and cost-effective than disposable cleaning wipes.
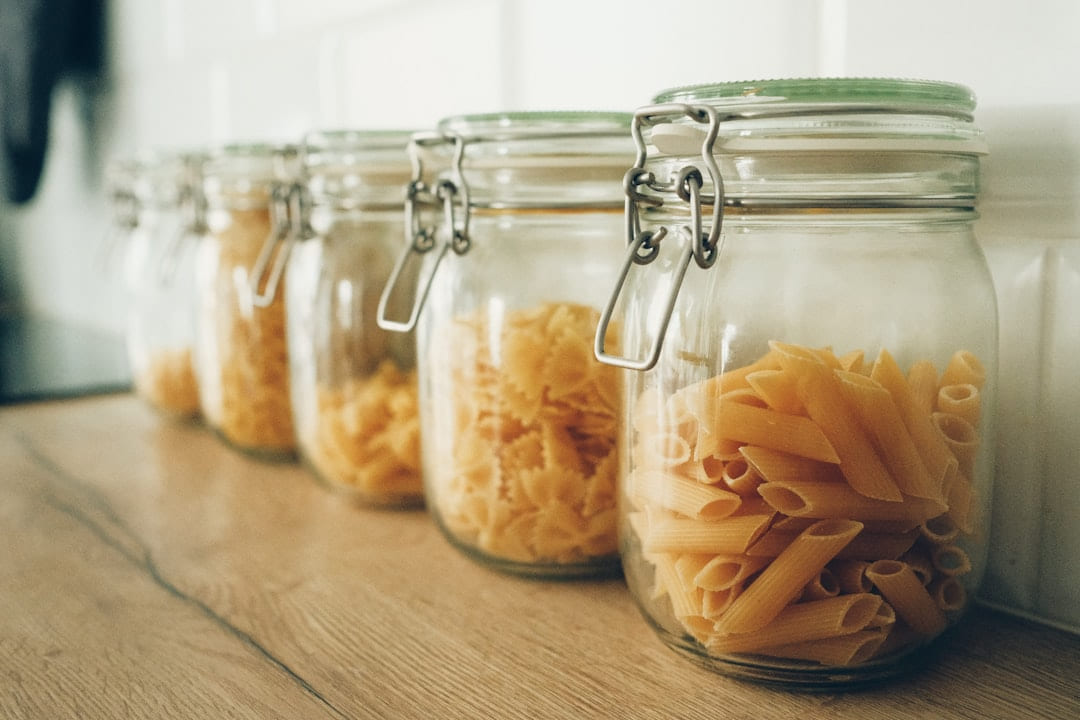
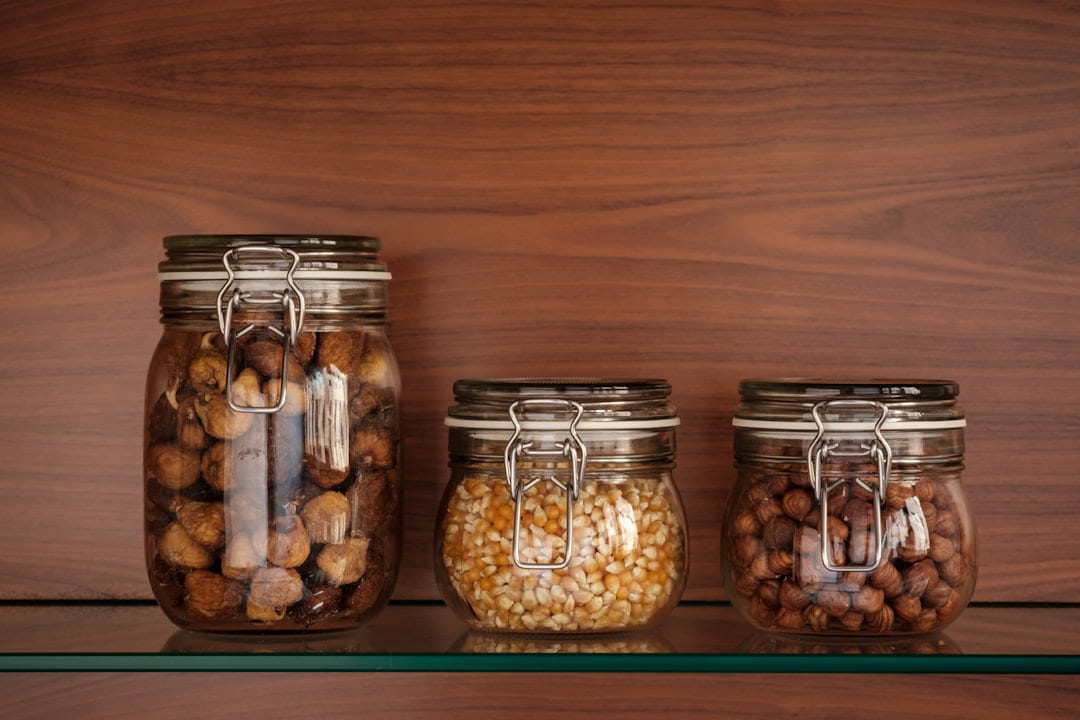
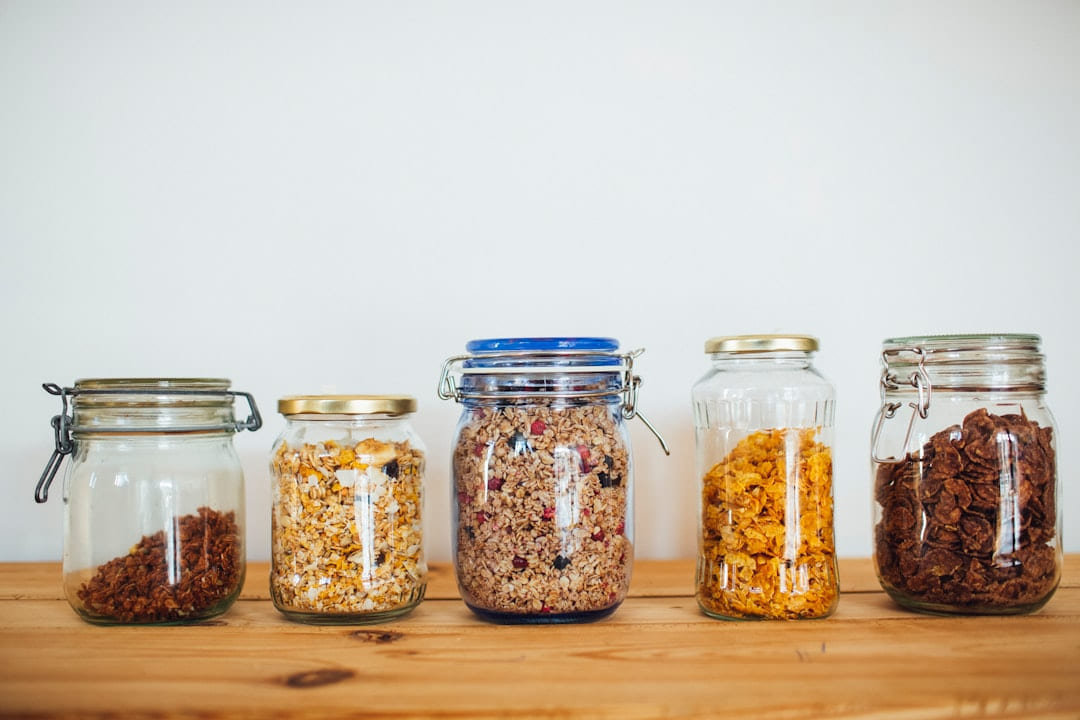
5. Glass Jar Storage: Repurpose & Organize
Glass jars are incredibly versatile. Clean them out and use them to store dry goods like rice, beans, pasta, spices, and even homemade sauces. Label them clearly to keep everything organized. Mason jars are a classic choice, but don’t overlook jars from pasta sauce, pickles, or jam.
Beyond the Basics: Expanding Your Reusable Toolkit
Once you’ve mastered the basics, you can explore more advanced DIY projects:
- Reusable Cotton Rounds: These are a fantastic alternative to disposable cotton rounds for removing makeup or applying toner. You can make them from flannel fabric or old t-shirts.
- Dishcloths: Cut up old towels or flannel fabric into squares and sew them together to create reusable dishcloths.
- Beeswax-Coated Cardboard Food Containers: For sandwiches or leftovers, beeswax coating provides a natural, reusable alternative to plastic containers.
Start with what you will actually use
With DIY Home Swaps, the first question is usually not which option looks best on paper. It is which part will make day-to-day life easier, smoother, or cheaper once the novelty wears off.
A lot of options sound great until you picture them in a normal week. If the setup is fussy, the routine is easy to forget, or the maintenance is annoying, the appeal fades quickly.
There is also value in keeping one part of the process deliberately simple. Readers often do better when they identify the one decision that carries the most weight and make that choice carefully before they chase smaller optimizations. That keeps momentum steady and usually prevents the topic from turning into clutter.
What tends to get overlooked
Tradeoffs are normal here. Cost, convenience, upkeep, and flexibility do not always line up neatly, so it helps to decide which tradeoff matters least to you before you commit.
This usually gets easier once you make a short list of priorities. A tighter list tends to produce better decisions than trying to solve every possible problem at once.
Another useful filter is asking what you would still recommend if the budget got tighter, the schedule got busier, or the setup had to be easier for someone else to manage. The answers to that question usually reveal which advice is durable and which advice only works under ideal conditions.
How to keep the setup simple
If you want DIY Home Swaps to hold up over time, choose the version you can actually maintain. That can mean spending less, leaving out an attractive extra, or simplifying the setup so it fits ordinary life.
The version that holds up best is usually the one you can live with on an ordinary day. That often matters more than the version that only feels good when you have extra time, energy, or money.
That is why the best next step is often a modest one with a clear upside. You want something specific enough to act on, flexible enough to adjust, and practical enough that you would still recommend it after the first burst of enthusiasm fades.
Conclusion: Small Changes, Big Impact
Creating your own reusable household items is a surprisingly rewarding way to reduce your environmental impact and save money. It’s not about striving for perfection; it’s about making conscious choices and embracing a little bit of creativity. Start with one or two projects - the shopping bags are a great place to begin. Every small step makes a difference, and together, these small changes can have a big impact on our planet and our wallets. Don’t be afraid to experiment, get creative, and most importantly, enjoy the process of building a more sustainable and resourceful home.
Keep This Practical
If the advice here feels useful, turn it into one habit you can maintain without extra stress. Sustainable progress tends to come from repeatable decisions, not all-at-once overhauls.
Tools Worth A Look
These recommendations fit readers who want lower-waste, budget-aware tools that support everyday sustainability without overcomplicating it.
- How to Make a Budget Plan - Planning and Budgeting for SuccessOff-Grid Living on a Budget: The Ultimate GuideEco On A Budget - for busy parents: Simple, affordable steps for greener family livingEco-Minimalism On A BudgetS.T.E.P.S Towards Organic Living: Non-Toxic Living on a Budget
Some of the links on this page are Amazon affiliate links, which means I may earn a small commission if you make a purchase through them. As an Amazon Associate, I earn from qualifying purchases.
Related ReadingMore from Earth Wise Budget

DIY Home Goods: Simple Steps to Save
Lay a square of parchment paper on a flat surface. Sprinkle beeswax and resin evenly over the parchment. 3. Place another square of fabric on top of the wax.
DIY Reuse Fails: Avoiding Common Mistakes
DIY Reuse Fails: Avoiding Common Mistakes offers a clearer, more practical take on diy so readers can make the next move with less confusion and more confidence.
DIY Home Swaps: A Simple Checklist
Ditch the Disposables: Your DIY Reusable Household Items Checklist It’s 2026, and the numbers around plastic waste are pretty sobering. We’re generating roughly.